
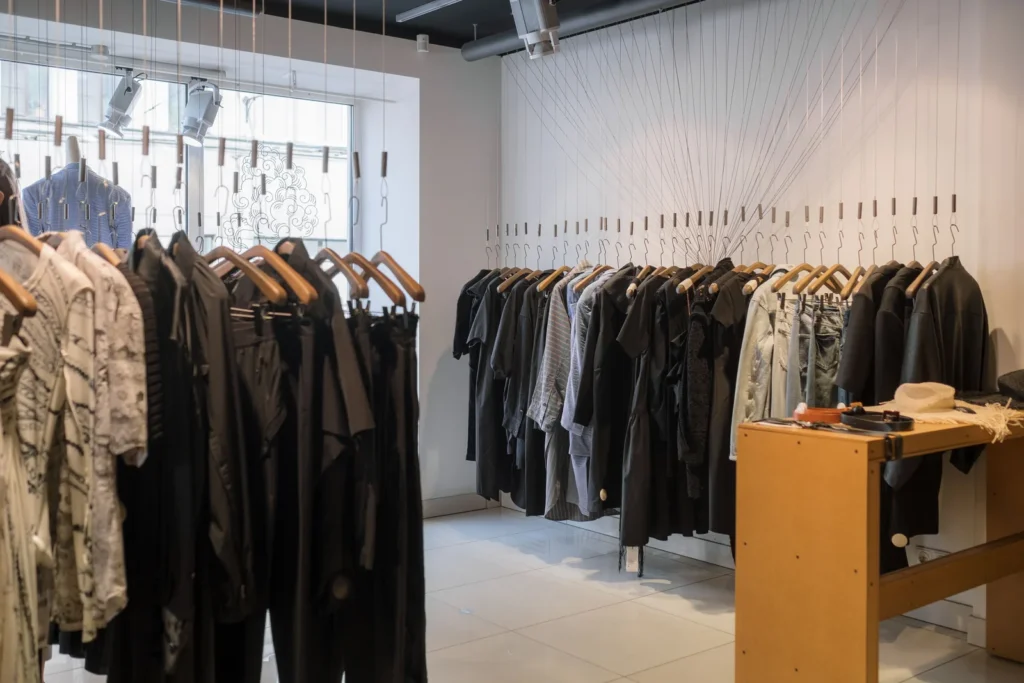
A clothing store’s lighting has one job before it has any other: it has to make fabric read the way it read on the hanger in the fitting room, at the price you are asking. That is a narrower brief than “make the store bright”, and it is why a fit-out can pass an illuminance check and still make a €220 coat look like leftover stock.
This guide is the layout side of retail clothing store lighting: where the track runs go, what beam angle each zone gets, how far apart the heads sit, and how to aim a head so it flatters a garment instead of flattening it. Every number below comes from the same four formulas, so you can reproduce the arithmetic with a tape measure and a light meter: pool diameter D = 2H·tan(θ/2), spacing pitch = D × (1 − overlap), the height penalty E₂/E₁ = (H₁/H₂)², and cut-off angle arctan(depth ÷ half-aperture).

Why Apparel Is the Hardest Merchandise to Light
Three properties of clothing decide almost every specification you will write.
- Garments are vertical and three-dimensional. A shirt on a rail is lit across its front face, not across a horizontal surface. Horizontal lux on the floor tells you nothing about how that shirt looks. What matters is vertical illuminance in the band between roughly 1.20 m and 1.70 m, which is where customers read detail: collar, buttons, weave, stitching.
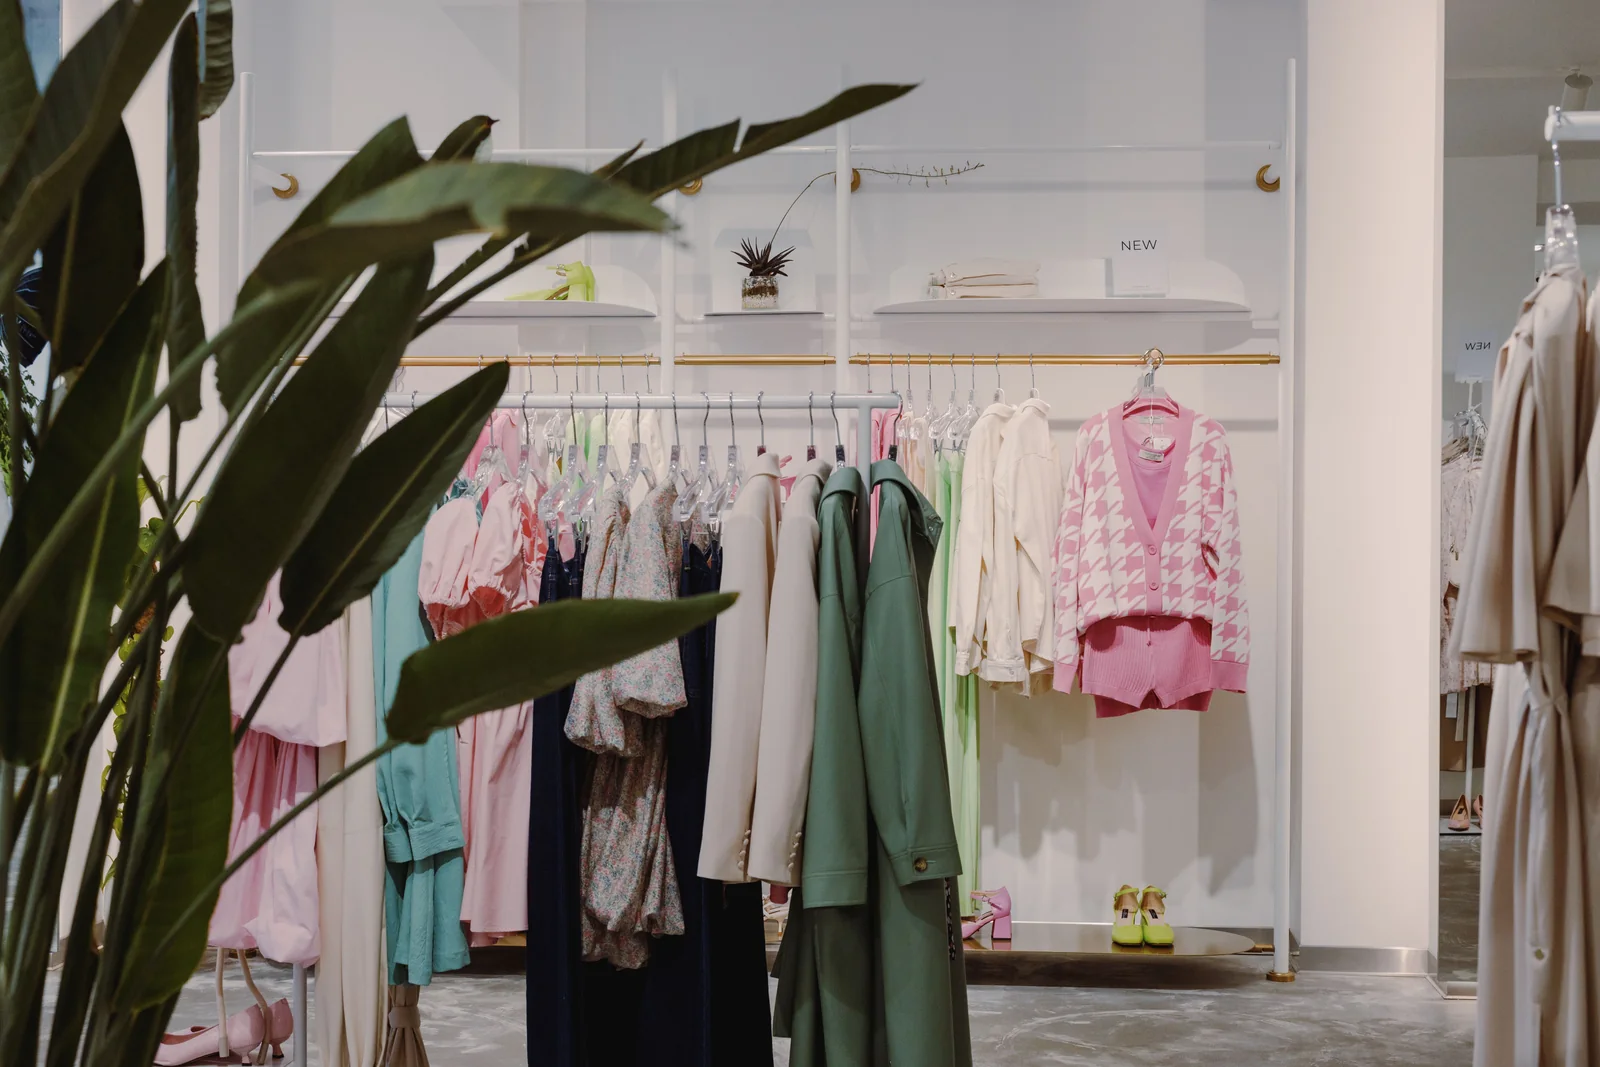
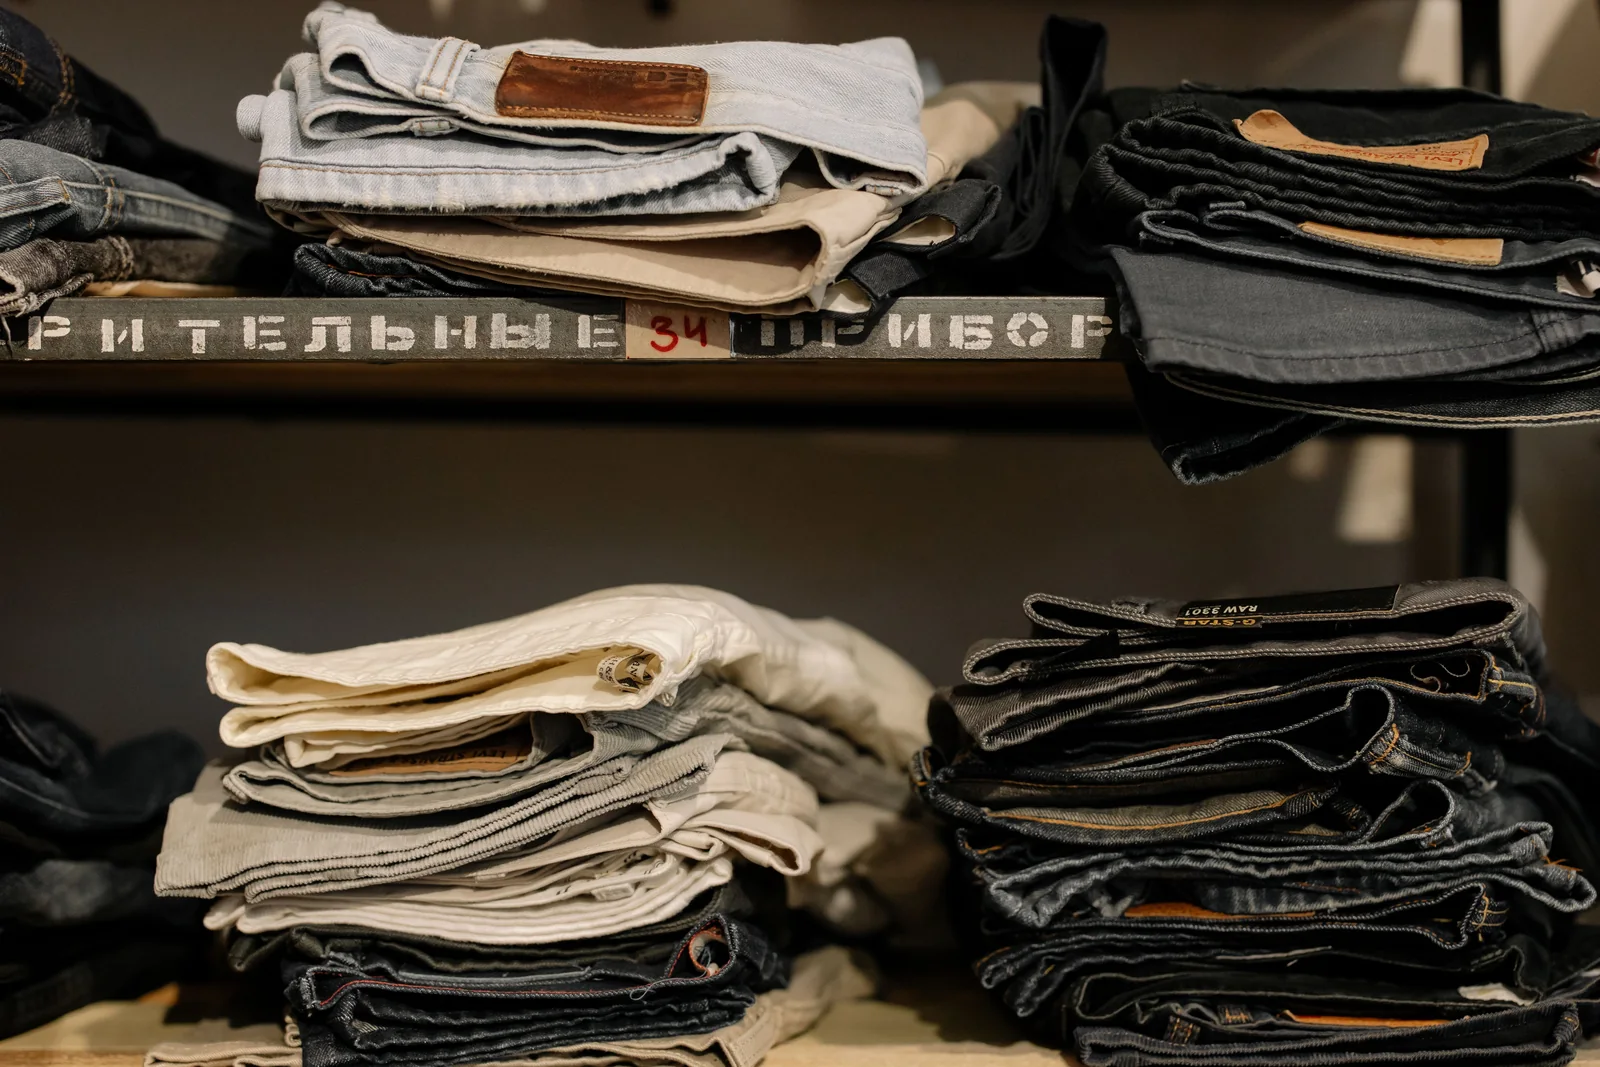
- Texture and colour are the product. A smooth matte surface forgives poor light. Wool, denim, satin and knitwear do not — they live or die on shadow. Light that flattens everything destroys the cue customers use to judge quality.
- The customer stands between the lamp and the garment. In a cosmetic or jewellery display the viewer is outside the light path. In a clothing store they walk into it, put their own shadow across the rail, and check the mirror at 400 mm from their own face. Every layout decision below has to survive a person standing in it.
The Layout Skeleton: Six Zones, Three Track Runs
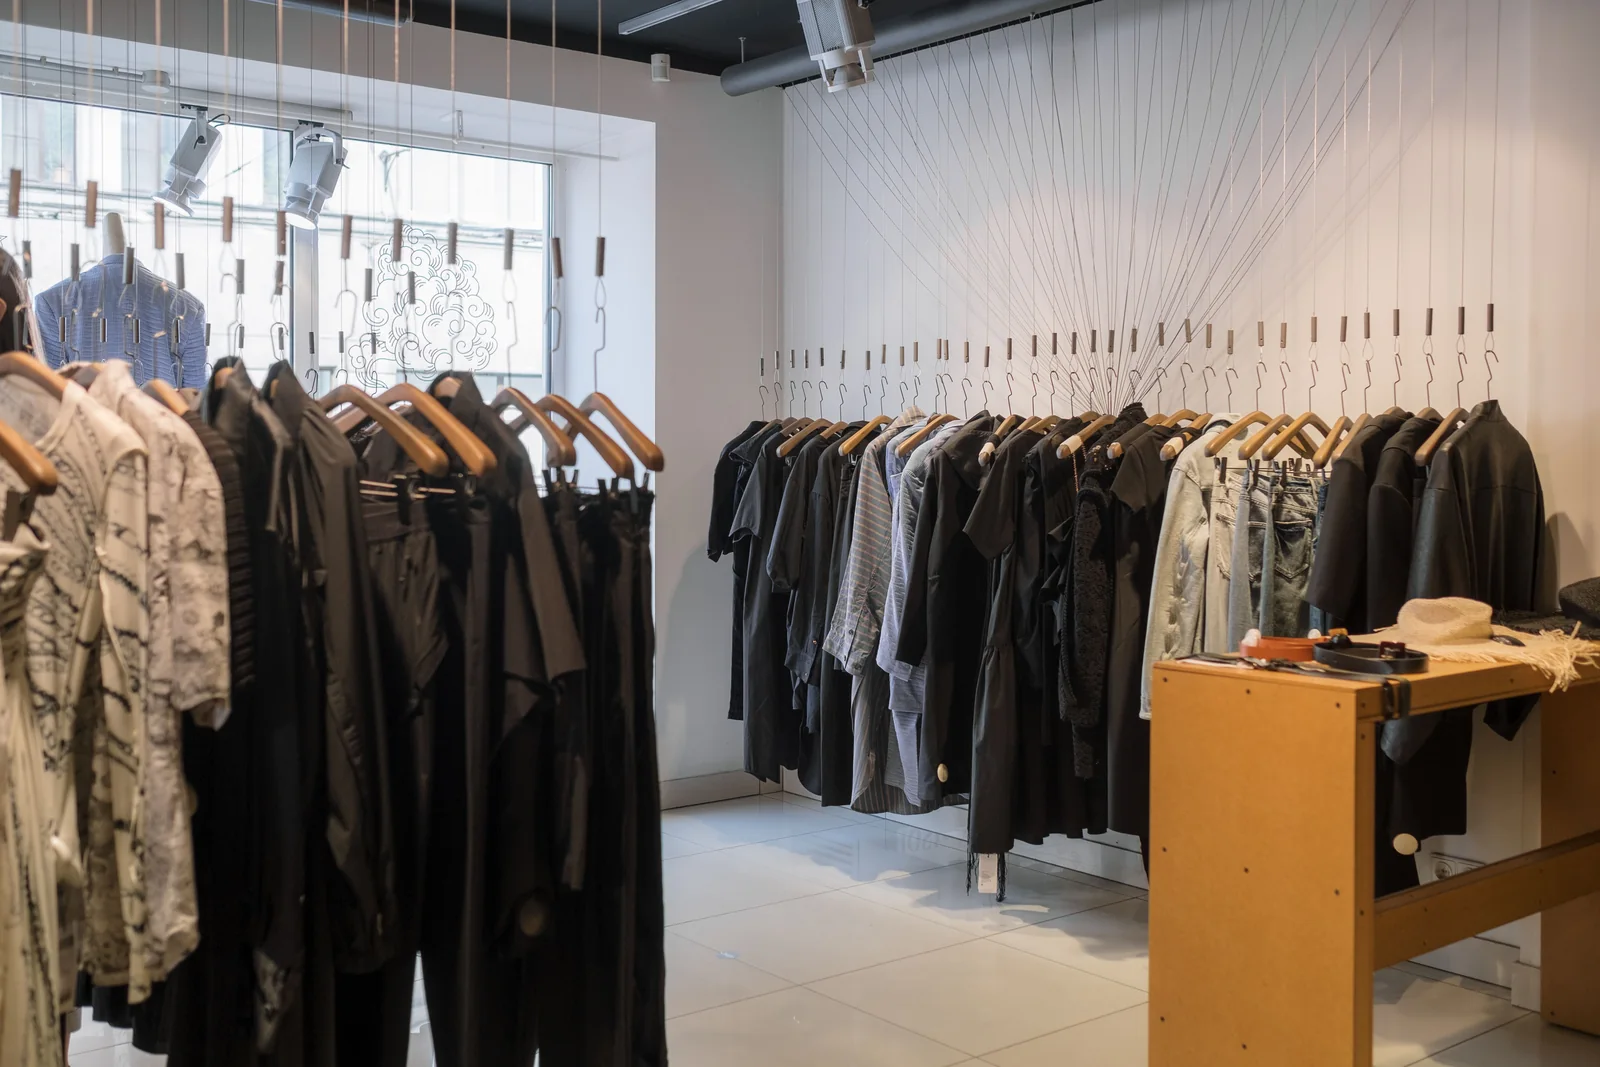
Most clothing stores of 100–400 m² need three parallel track runs, not a grid. A perimeter run parallel to the wall displays (about 0.60–0.90 m off the wall), a central run over the island or the aisle spine, and a short dedicated run for the fitting area. Everything else is aiming.
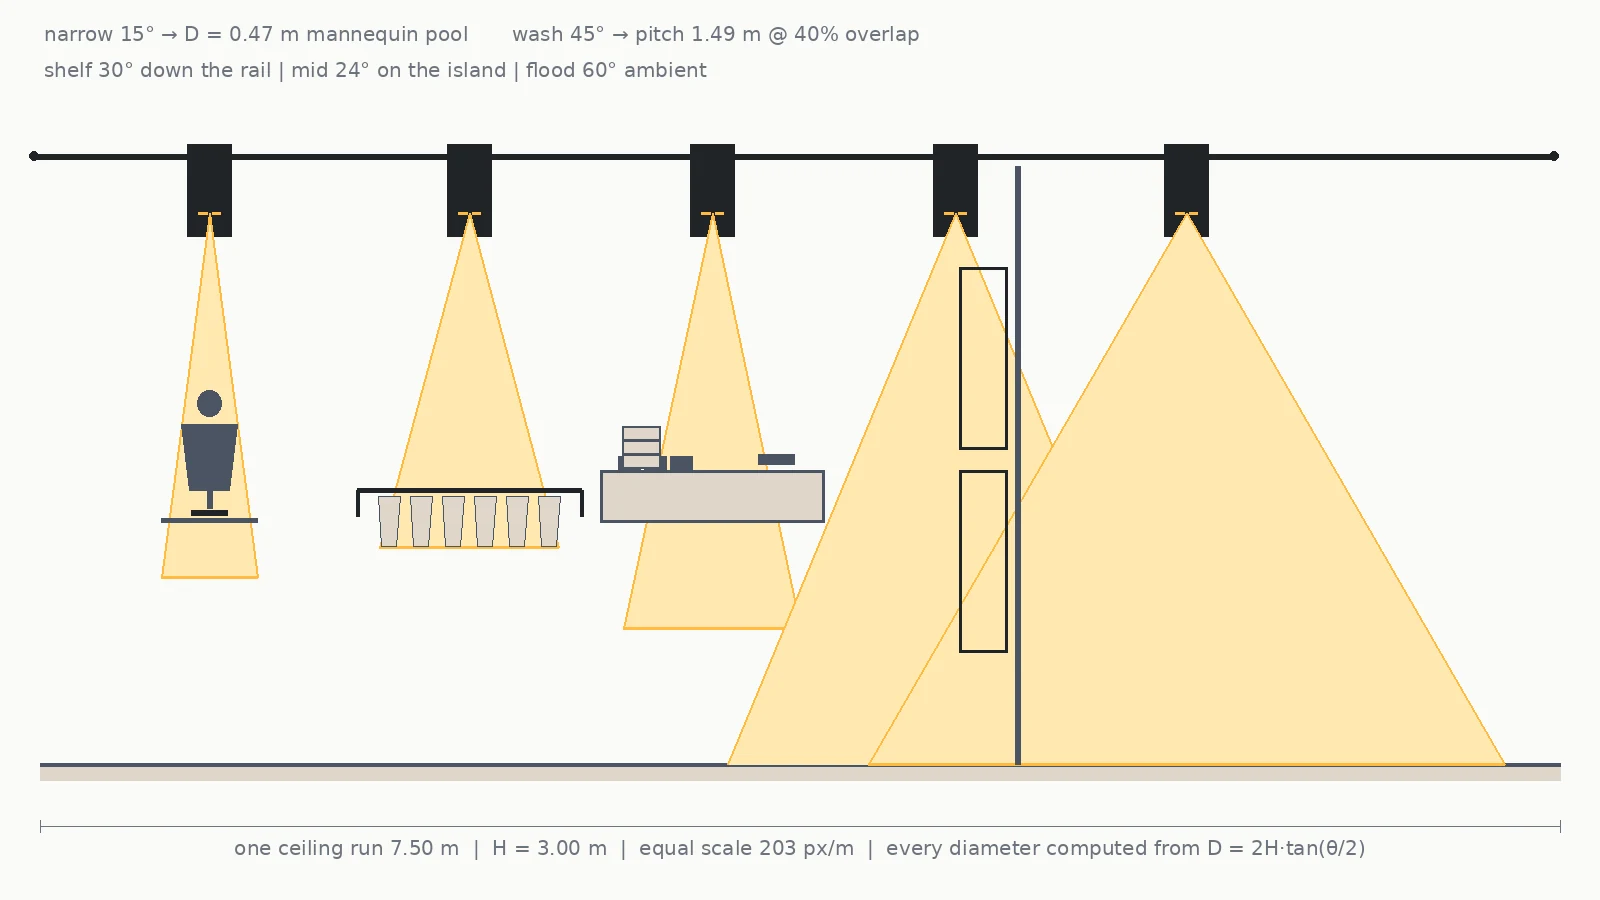
The zones and what each one is actually for:
| Zone | Target illuminance | Beam angle | What it is doing |
|---|---|---|---|
| Entrance / threshold | 300–400 lux | 60° flood | Getting people in. Should read brighter than the street, not brighter than the displays. |
| Circulation aisle | 150–250 lux | 60° flood | Safe walking, nothing more. Deliberately the dimmest zone. |
| Wall display (vertical) | 600–900 lux vertical | 40–45° wash | Even vertical illuminance on the wall plane so a whole capsule reads as one statement. |
| Rail / hanging run | 500–700 lux vertical | 30° down the rail | Picking garments out of a row so each one gets its own pool. |
| Central island / folding table | 700–900 lux | 24° mid | Covering the full fold pattern, not one shirt in the middle of it. |
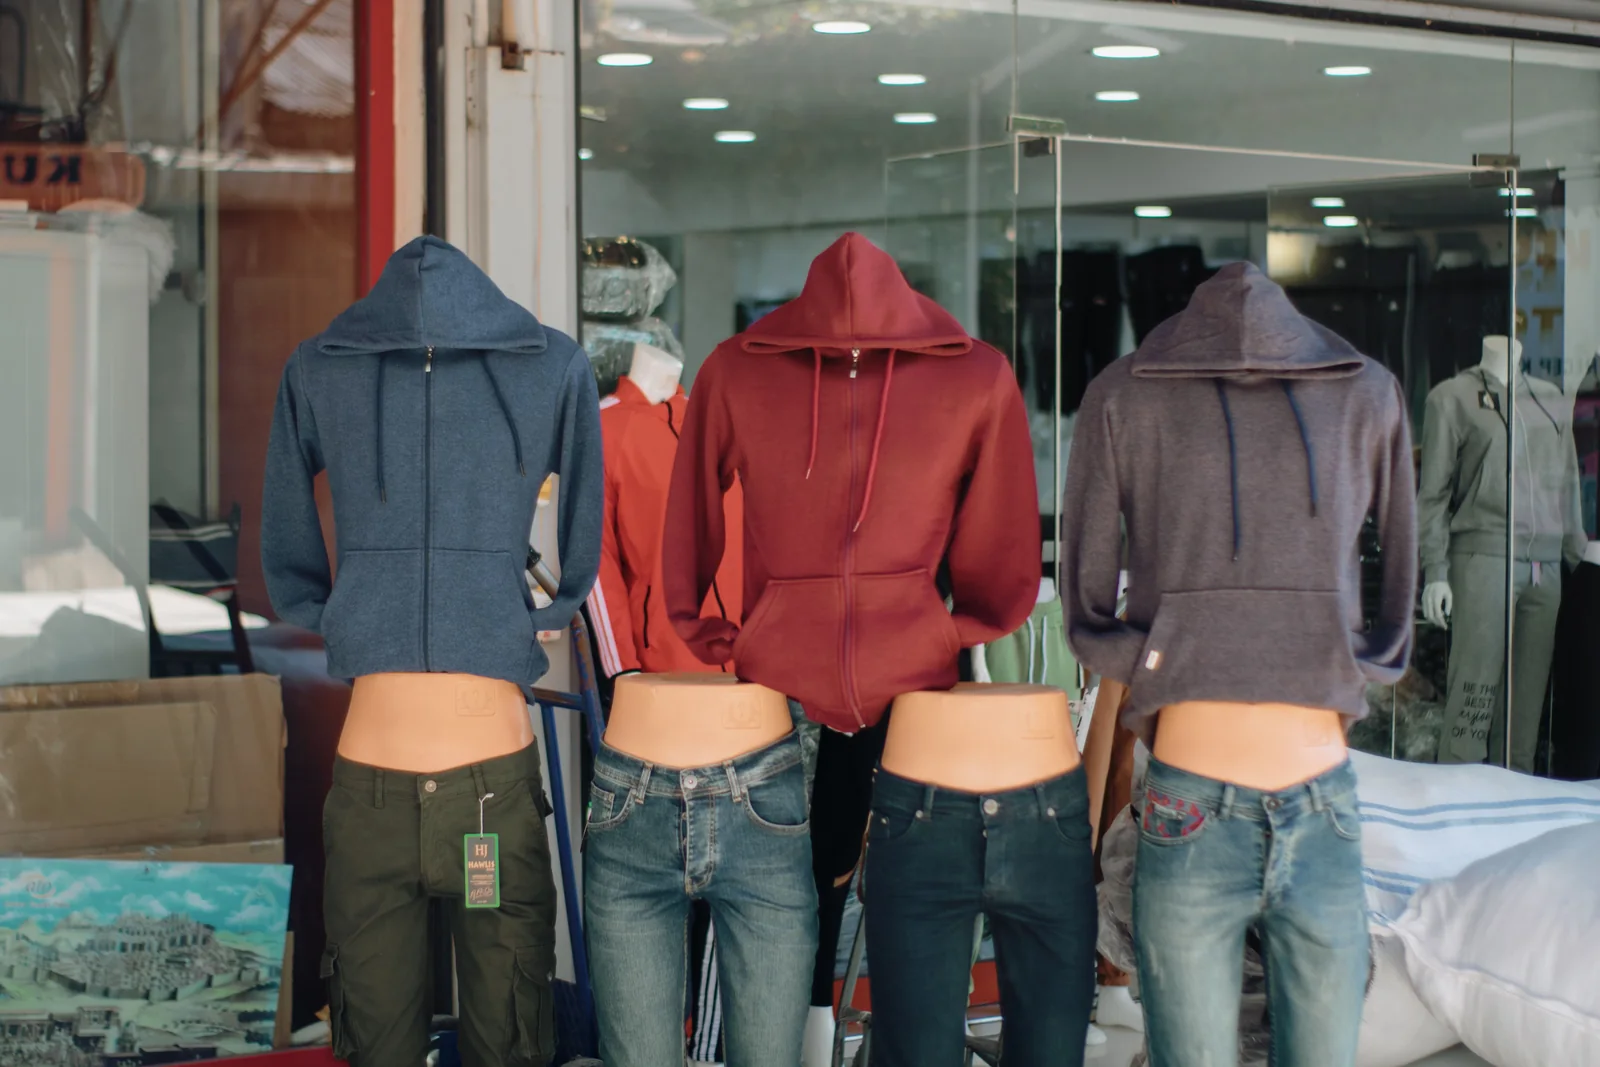
| Mannequin / hero | 1,200–1,800 lux | 10–15° narrow | The highest-contrast point in the store. This is the sale. |
| Fitting area exterior | 400–500 lux | 30° trial | Vertical illumination on the customer in front of the mirror. |
| Inside cubicle | 250–350 lux | 24–36° | Enough to dress by, low enough to be flattering. |
This table is the apparel-specific cut. For the wider retail picture — why track lighting in a shop outperforms a fixed downlight grid, and how the merchandising plan drives the ceiling plan — see track lighting for retail stores.
Note the shape of that table. The aisle is not the target; it is the floor. If your ambient level climbs to match the displays, you lose the contrast that does the selling, and you will be buying wattage to fight a problem that more wattage will not solve.
Track Layout: Runs, Offsets and Pitch
Where the Perimeter Run Goes
The perimeter run sits 0.60–0.90 m off the wall face, and the offset is decided by the aiming angle, not by taste. To wash a wall from a 3.00 m ceiling, a head at 25° off vertical lands its beam centre on the wall at:
offset = H × tan(tilt) = 3.00 × tan(25°) = 1.40 m
Push the run further than about 1.10 m off the wall and you have to tilt a head past 30°, at which point the top of the wall goes dark and the light starts spraying across the floor. Pull it closer than 0.50 m and the heads sit in their own beam’s scallop, which shows as a bright band on the wall right under the track.
Pitch Along the Run
Head spacing along a run is pure geometry once you have chosen a beam angle and an overlap allowance. For a 45° wash from 3.00 m with 40% overlap:
D = 2 × 3.00 × tan(22.5°) = 2.49 m → pitch = D × (1 − 0.40) = 1.49 m
40% overlap is the point at which scalloping stops being visible on a matte wall. On a glossy or highly textured wall, go to 50%. Below about 20% overlap you will see distinct bright bands between heads — the giveaway of a lighting job done by counting ceilings rather than measuring them.
The Central Run and the Aisle Question
The central run is the one people get wrong most often, because they put it directly over the walking line and then wonder why the middle of the store is bright and the product is not. Put it over the merchandise: over the island, over the aisle spine if there is display on both sides, or split it into two runs over the two display walls. A head aimed down a walkway is a wasted head.
Also decide early whether the central run is exposed or recessed, and whether it takes line voltage or 24 V. The two have different accessory ecosystems, and mixing them mid-project is how you end up with adapters on the ceiling. We go through the identification and load side of this in how to identify H, J or L track.
Beam Angle: Matching the Pool to the Garment
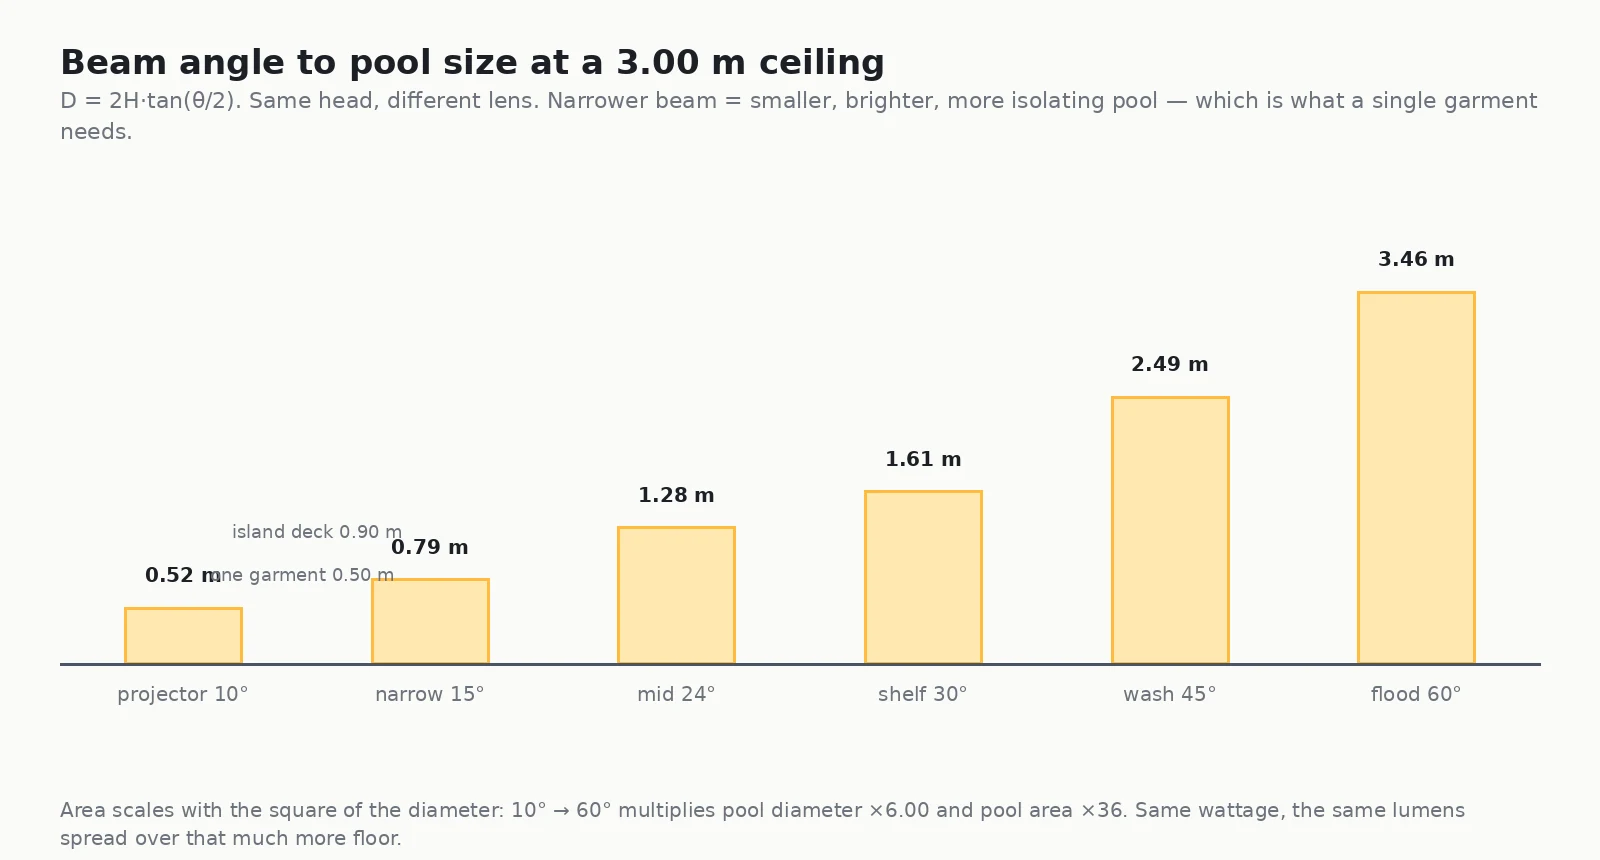
Beam angle is the single highest-leverage number in the specification, because it controls both pool size and surface illuminance at the same wattage. Halve the beam angle and you quarter the illuminated area — the same lumens land on a quarter of the floor, so the pool gets about 4× brighter.
| Merchandising job | Beam angle | Pool at 3.00 m | Why |
|---|---|---|---|
| Single hero garment on a mannequin | 12° | 0.63 m | Falls inside the silhouette; the fall-off either side is the drama. |
| Mannequin group / two-piece outfit | 20° | 1.06 m | Covers shoulders to hem without spilling past the plinth. |
| Folded stack on an island table | 24° | 1.28 m | Fits the fold pattern; one pool per table position, not one per item. |
| Wall shelving, one shelf level | 30° | 1.61 m | Vertical throw that lights the front face of the pile, not the floor in front of it. |
| Full-height wall display | 45° | 2.49 m | Washes the whole wall plane evenly; pair with 40–50% overlap. |
| Open floor / ambient fill | 60° | 3.46 m | The only lens whose job is to cover area rather than isolate product. |
Narrow Is Not Automatically Better
There is a fashion in retail lighting for very narrow beams, and it goes wrong in a predictable way: a 10° head on a rail gives a pool smaller than a single jacket, so the customer sees a hot bright blob in the middle of the garment and two dark sleeves. The rule is to size the pool to the merchandise, not to the thrill of the spec sheet. On a 1.80 m rail run, a 24° head at a 0.46 m pitch puts a light on each garment position; a 10° head would need six times as many.
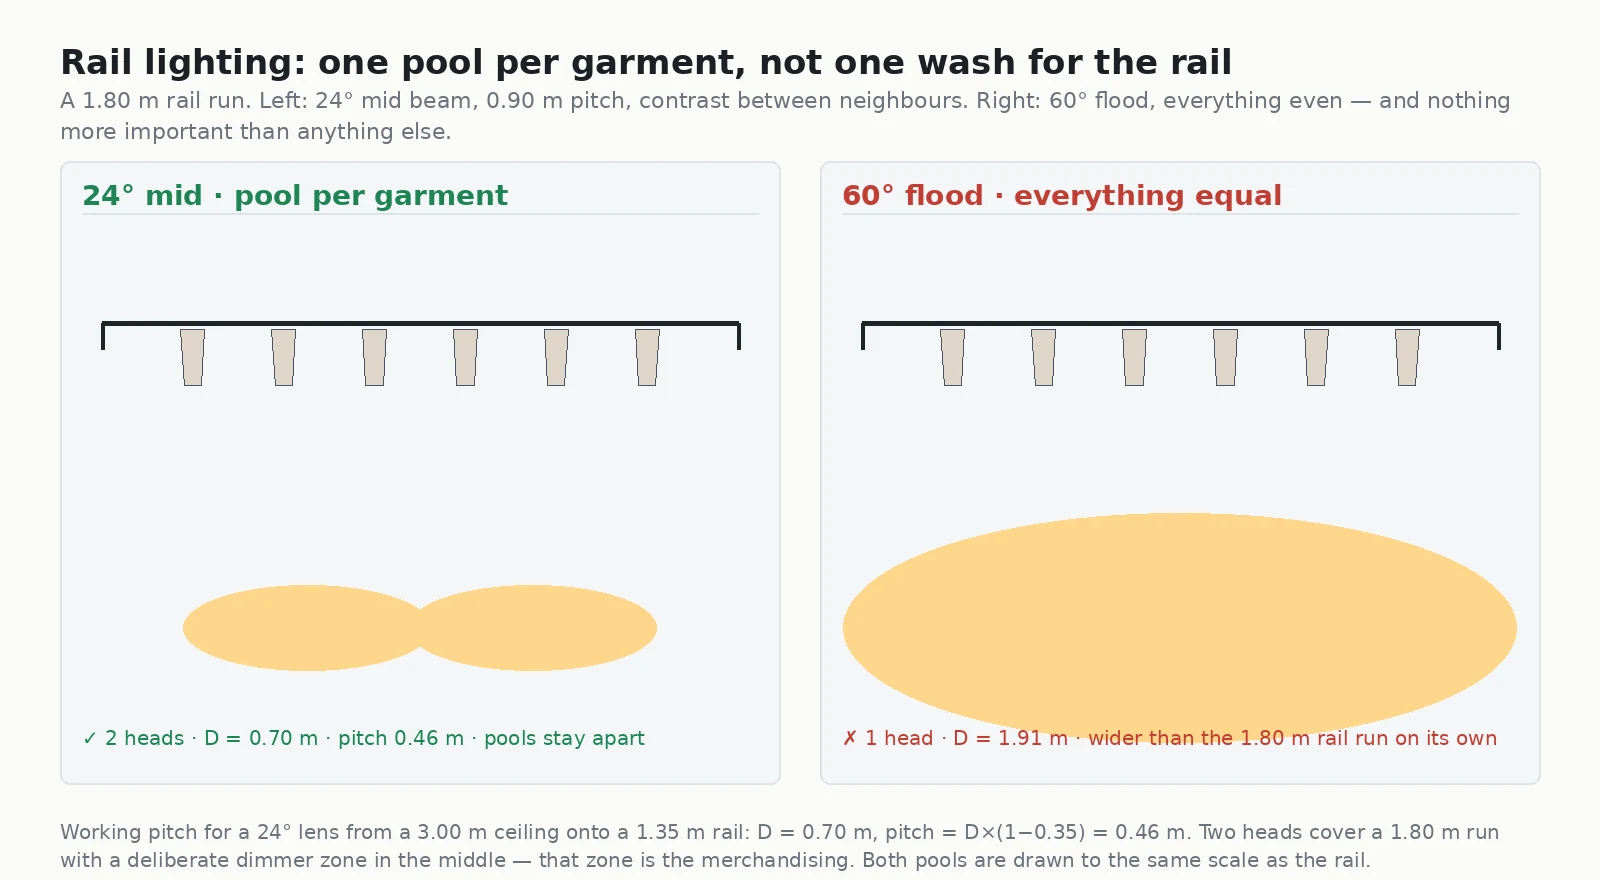
For the same geometry applied to non-apparel merchandise — cases, plinths, cosmetics, watches — the numbers are in retail display lighting specifications.
Mounting Height Is a Budget Line, Not a Detail
Illuminance falls with the square of distance. That is not a nuance; in a real fit-out it is the difference between hitting spec and not hitting it, and it is the reason a track that gets raised to clear a sprinkler head quietly ruins the lighting scheme.
E₂/E₁ = (H₁/H₂)² → 2.60 m to 3.40 m: (2.60/3.40)² = 58%
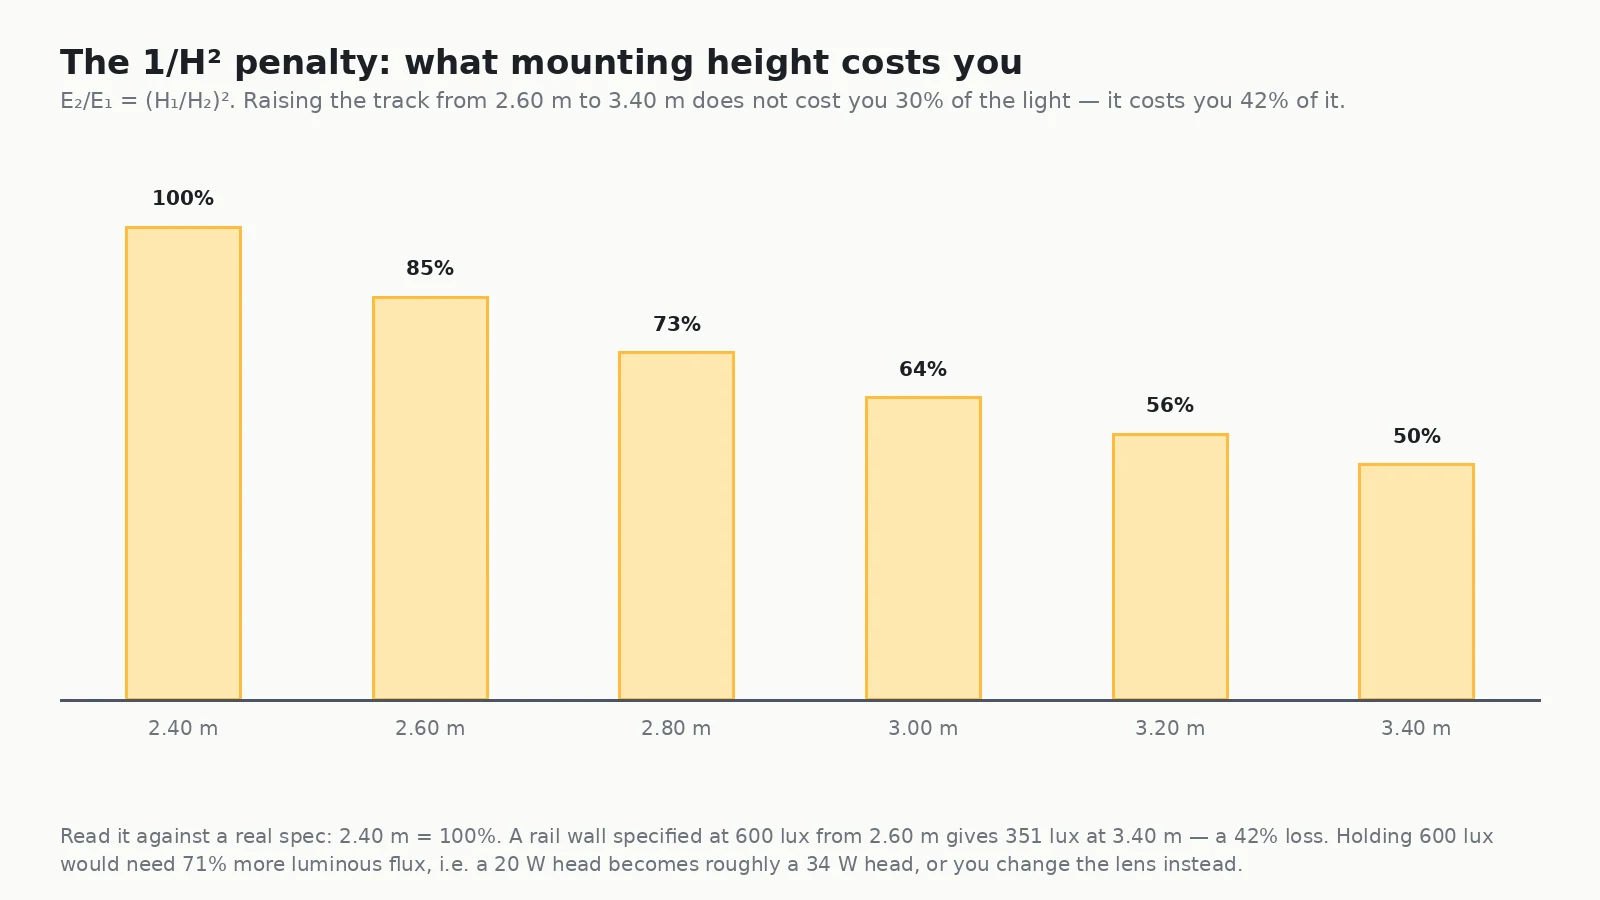
Two practical consequences. First, if the ceiling is genuinely high — say 4.50 m in a converted industrial unit — you need either higher-output heads, an asymmetric or narrow optic, or a suspended track. We cover that case separately in high ceiling lighting for 12 ft+ rooms. Second, on a standard 2.70–3.00 m ceiling, do not solve a uniformity problem by raising the track; it makes uniformity worse.
Wall Displays: The Vertical Illuminance Most Specs Forget
A clothing wall is a vertical plane, so the useful metric is vertical illuminance measured 1.20–1.70 m above finished floor — eye height to chest height — taken at the wall surface, not at the floor. Horizontal lux measured on the floor in front of the wall will read roughly 1.5–2× higher and will make you think you have plenty of light when the wall is actually at half spec.
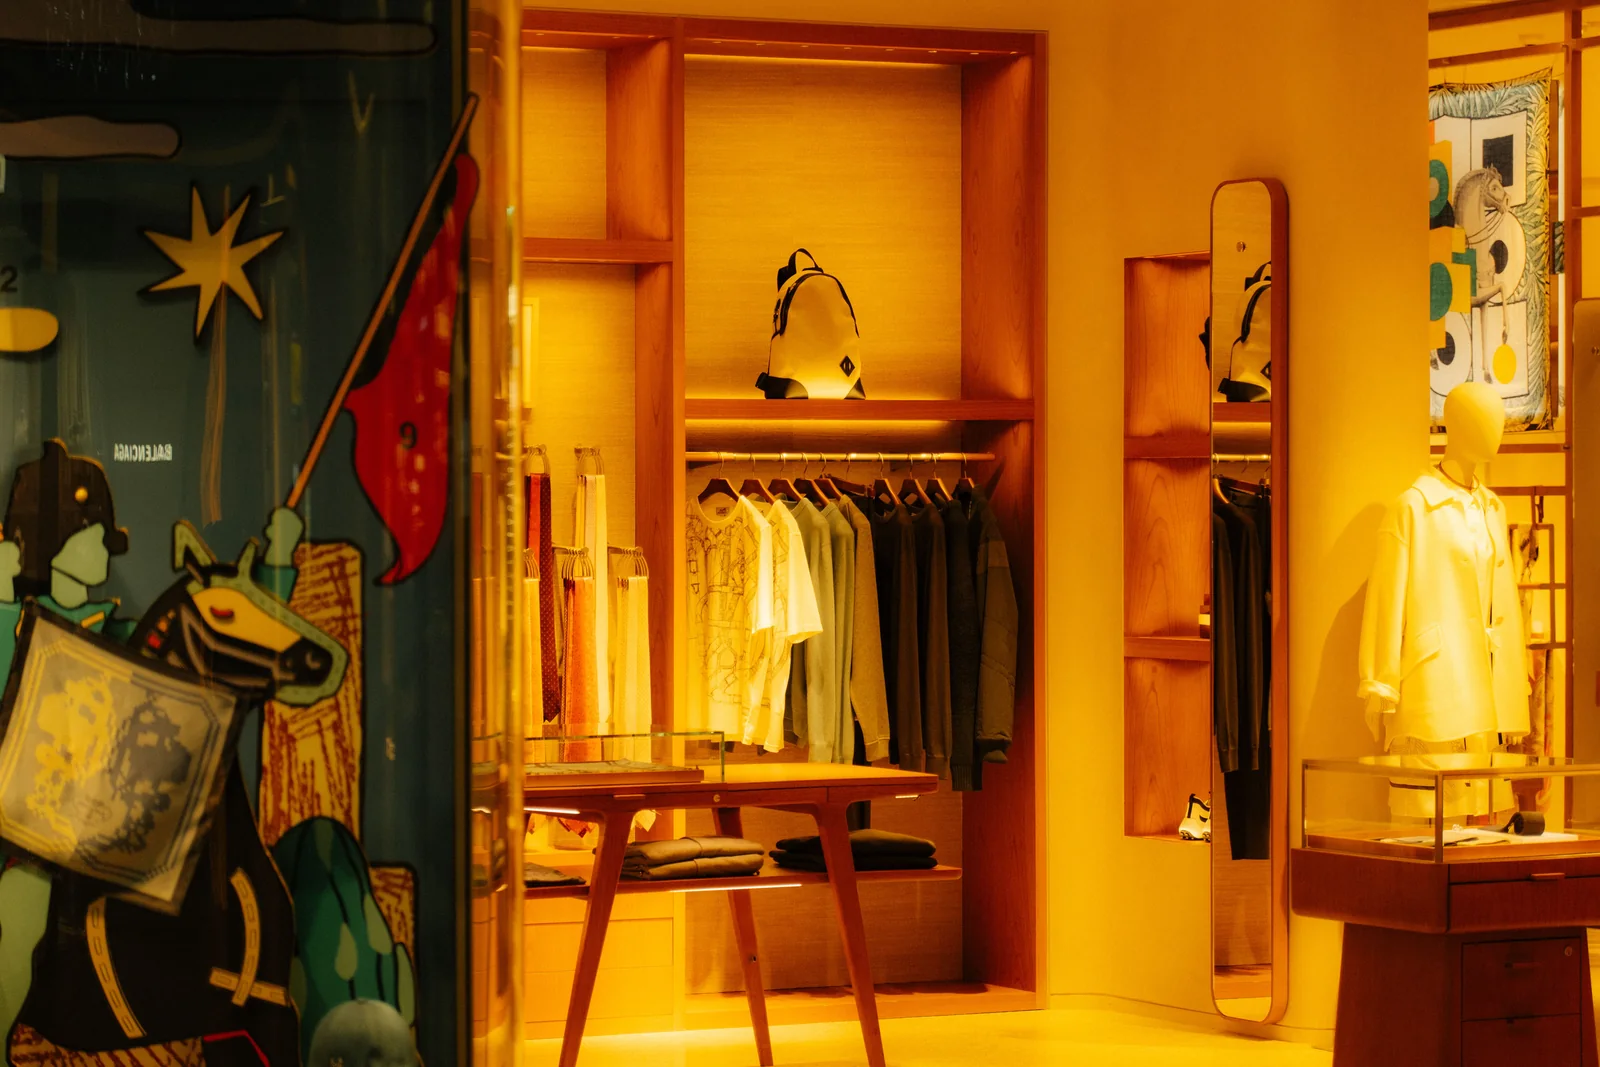
Two aiming habits that separate a clean wall wash from an amateur one:
- Cross-aim the wall, not the room. Turn each head so its axis points down-and-slightly-toward the wall you want lit, so the top of the cone dies on the wall plane just below the ceiling line. If you can see the cone’s upper edge on the wall, you are aimed too shallow.
- Keep the first head 0.15–0.25 m in from the corner. A head centred on the corner throws half its output onto the return wall and reads as a dark notch in the wash.
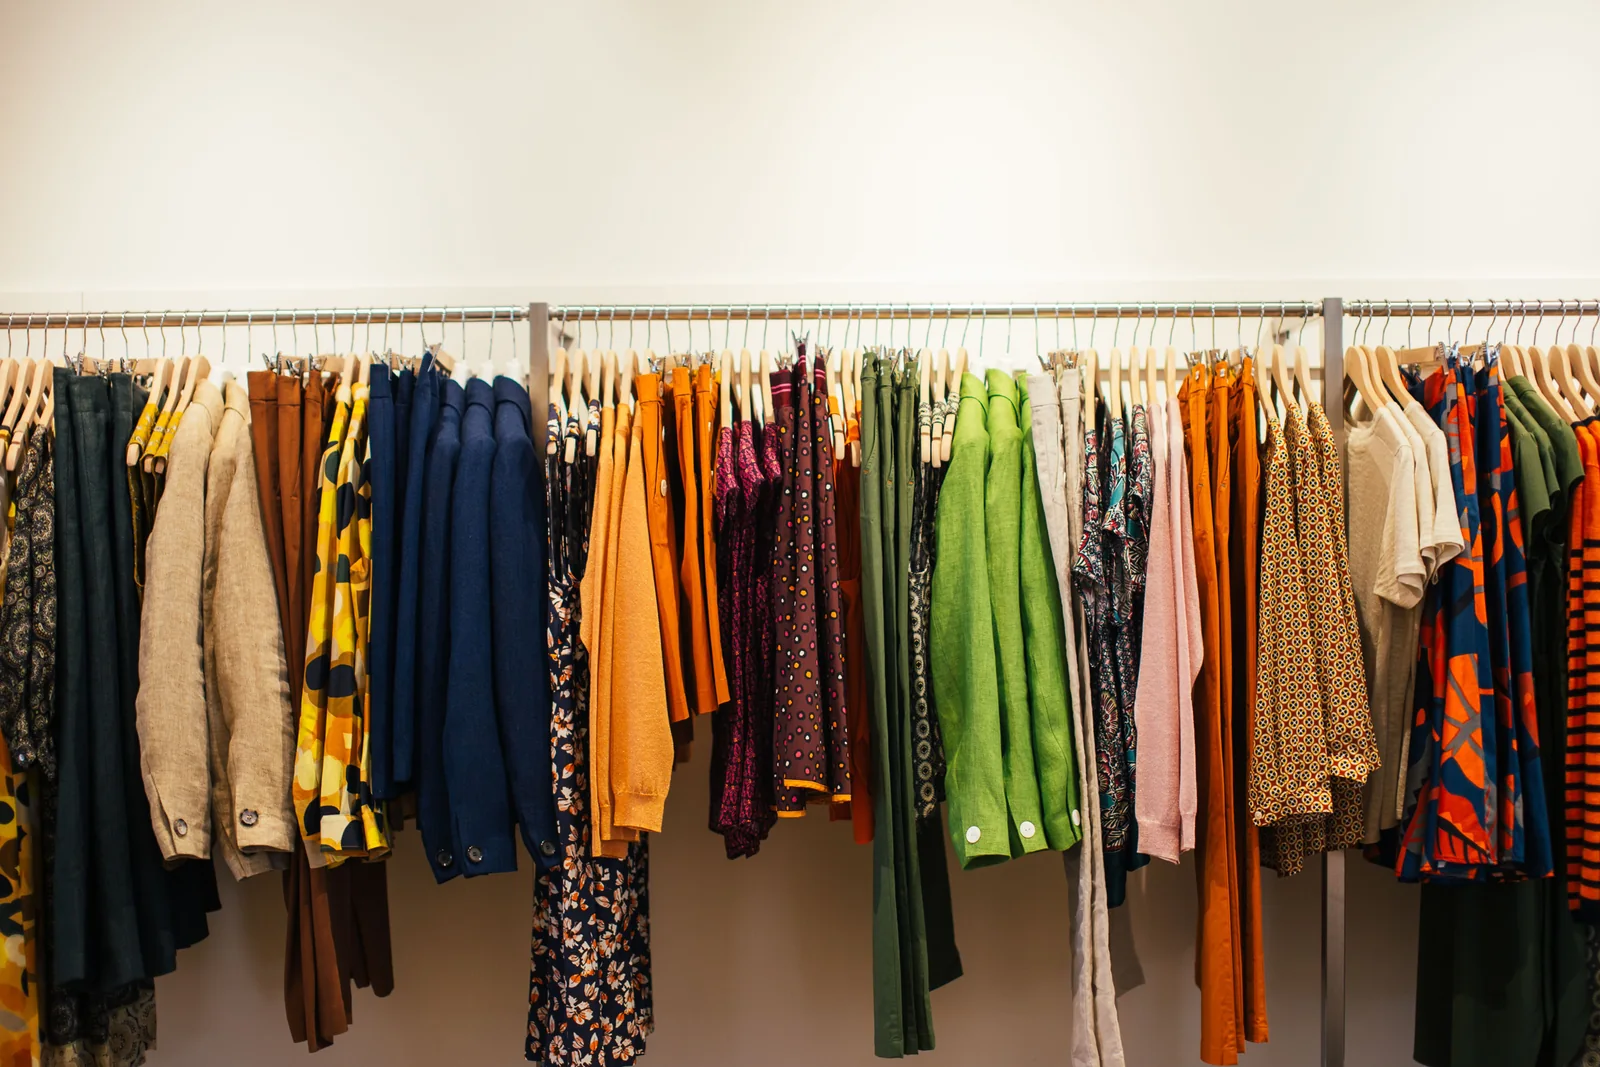
The Fitting Area: Where Lighting Decides the Return
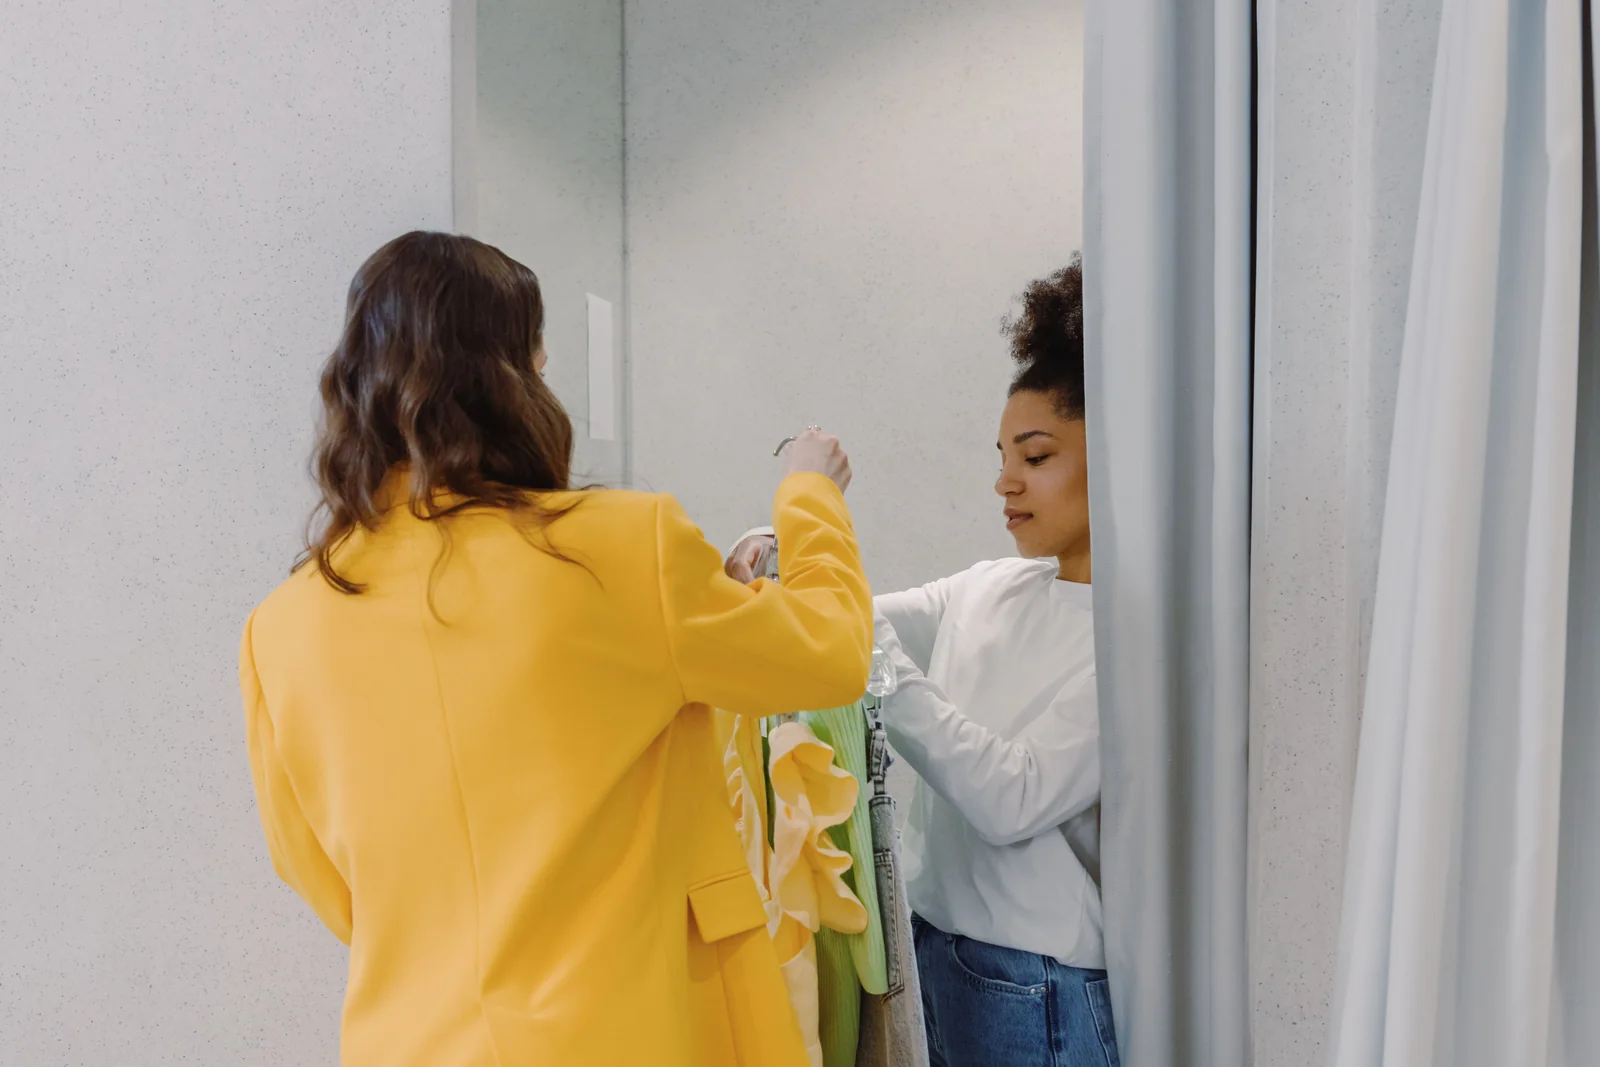
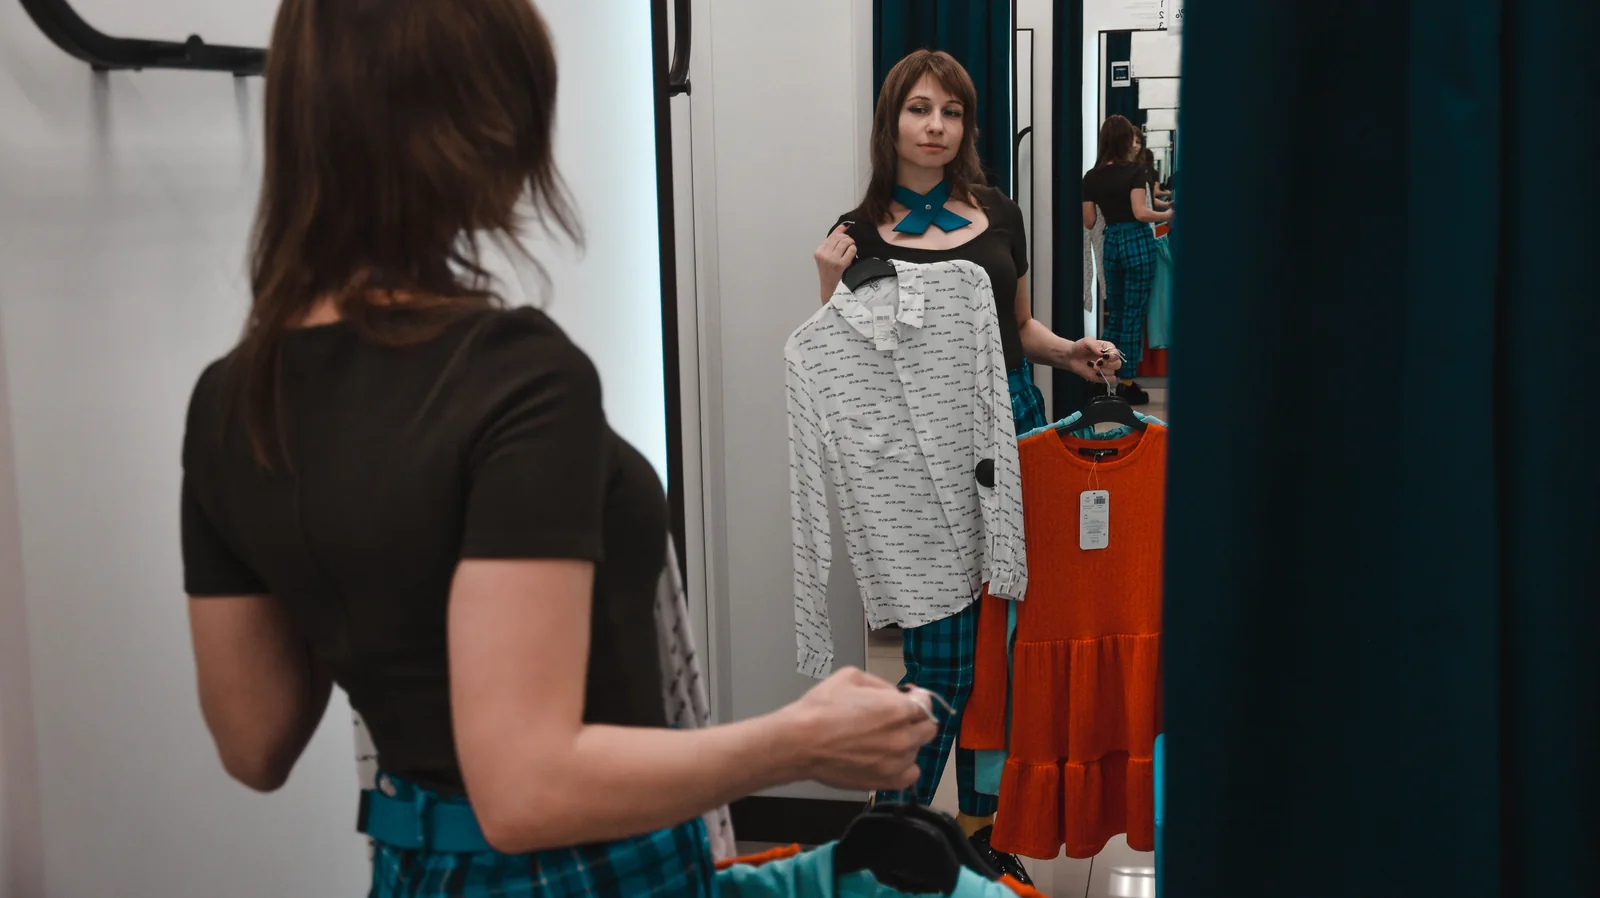
The fitting room is the highest-value square metre in the store and the one most often lit as an afterthought. The decision a customer makes there is not “can I see?” — it is “does this look good on me?”, and that is a lighting question with a physical answer.
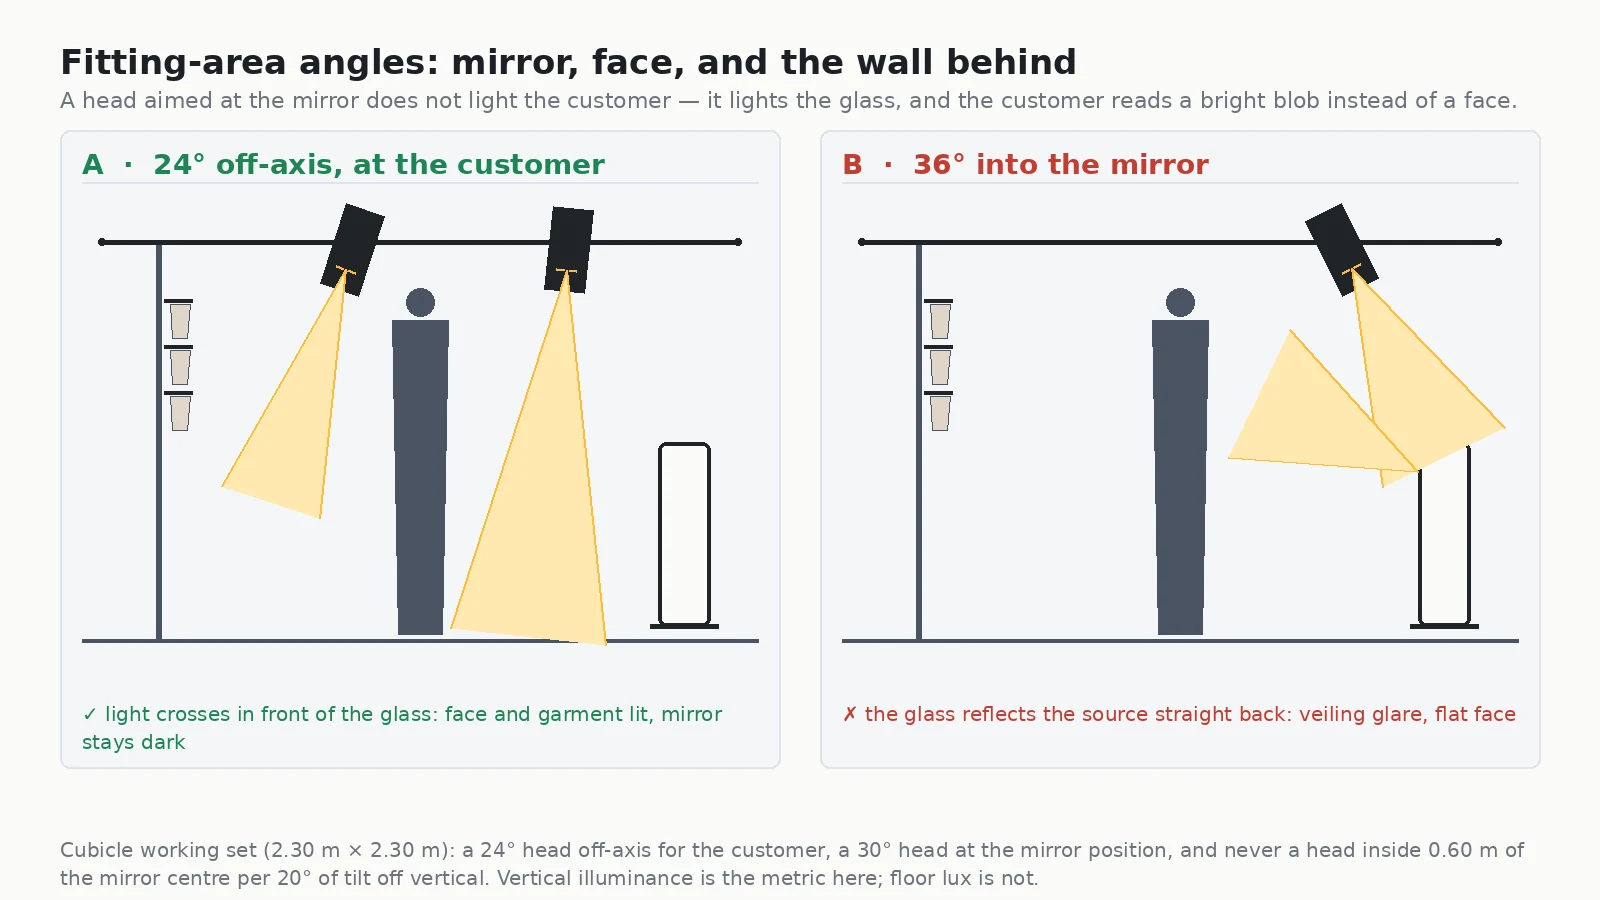
Three rules carry almost all of it:
- Never aim a head at the mirror. A mirror is a specular surface, which means the reflected image of the source is visible from exactly the mirror-symmetric position. The offset needed to leave the reflected field of view is
H × tan(tilt): at a 1.65 m mirror centre, every 20° of tilt off vertical moves the source 0.60 m sideways. Put the head at least that far outside the mirror axis. - Light the person, not the room. Aim for 400–500 lux vertical on the customer’s front, delivered from a head that is behind or above them rather than in front of their face. Two heads on opposite sides of the cubicle give a flattering cross-light with no hard nose shadow.
- Match the corridor, and slightly improve on it. Customers compare fitting-room appearance to the shop floor. If the cubicle is a different colour temperature or markedly dimmer, they will trust the cubicle less, not more. Same CCT, slightly higher CRI, one small step brighter.
Colour Temperature and CRI: Choosing the Band That Sells Fabric
For the colour-science behind R9 — what it measures, and why a lamp can post CRI 90 with almost no red — the deep version is in jewelry store lighting: CRI and beam angle. The short version for apparel follows.
For apparel the useful range is narrow. 3000 K is the workhorse for mid-market and premium clothing: warm enough to flatter skin and knitwear, neutral enough not to yellow white cotton. 3500 K is the safer choice for denim, sportswear and streetwear, where cool neutrals read as modern. 4000 K is a deliberate decision, not a default — it works in high-turnover fast fashion where the store wants an energetic, supermarket-adjacent feel, and it will make ivory and camel look grey.
| Apparel category | CCT | CRI / R9 | Note |
|---|---|---|---|
| Womenswear, knitwear, bridal | 2700–3000 K | CRI ≥ 95, R9 ≥ 70 | Warm and high fidelity: fabric texture and skin. |
| Menswear, tailoring | 3000–3500 K | CRI ≥ 90, R9 ≥ 50 | Neutral avoids shifting navy and charcoal. |
| Denim & casual | 3500 K | CRI ≥ 90, R9 ≥ 50 | Cool-neutral keeps indigo reading indigo. |
| Sportswear / technical | 3500–4000 K | CRI ≥ 90 | Cool light supports the category’s visual language. |
| Fast fashion, high turnover | 4000 K | CRI ≥ 80, R9 ≥ 0 acceptable | Bright and energetic; accept the ivory-to-grey trade. |
| Fitting cubicle | same as floor, +0 to −100 K | CRI ≥ 90, R9 ≥ 50 | Consistency is worth more than any specific value. |
Glare, Contrast and the Ceiling as a Surface
Tracking light onto product almost always means a visible source in the field of view. That is the point — but it has to be a source the customer can look past. Two mechanisms decide whether they can.
Cut-off angle. The deeper the lamp is recessed behind its aperture, the further off-axis you have to be before you see the LED itself: cutoff = arctan(depth ÷ half-aperture). A flat lens in a shallow body gives a cut-off of a few degrees and reads as a bare bright dot from anywhere. A 35 mm recess in a 60 mm aperture gives about 49°, which keeps the source out of view for almost all normal viewing positions.
Contrast budgeting. A store where the mannequin pool is 1,500 lux and the aisle is 1,400 lux has no hero product — it has an evenly bright room. A store where the hero pool is 1,500 lux and the aisle is 200 lux has one. Aim for roughly 6:1 to 8:1 between the accent zone and ambient, and no more than 3:1 between adjacent surfaces that a customer is trying to compare (two rails on the same wall, or the top and bottom of one shelf). If a supplier quotes luminous flux where you asked for surface illuminance, the conversion is in lux vs lumens; the cross-category benchmark numbers are in commercial lighting lux requirements.
Specifying the Head Itself
A clothing store’s track heads get aimed and re-aimed constantly — every seasonal reset, every new window, every time a mannequin moves. Three features decide whether that is easy or whether your store team gives up and leaves everything pointing straight down.
Aim retention. A friction hinge that drifts overnight turns a carefully aimed scheme into a random one within a month. Look for a locking or detented mechanism with a stated holding torque, and test it by aiming a head and tapping the track.
360° horizontal / 90° vertical rotation without dead angles. The wall display and the rail are typically lit from the same run, one aimed 20° off vertical and one aimed nearly straight down. A head that can only tilt 45° cannot do both.
Zoom, where the layout will change. A zoomable head is the cheapest insurance in apparel, because merchandising changes faster than ceiling layouts. One lens covers the mannequin this season and the island next.
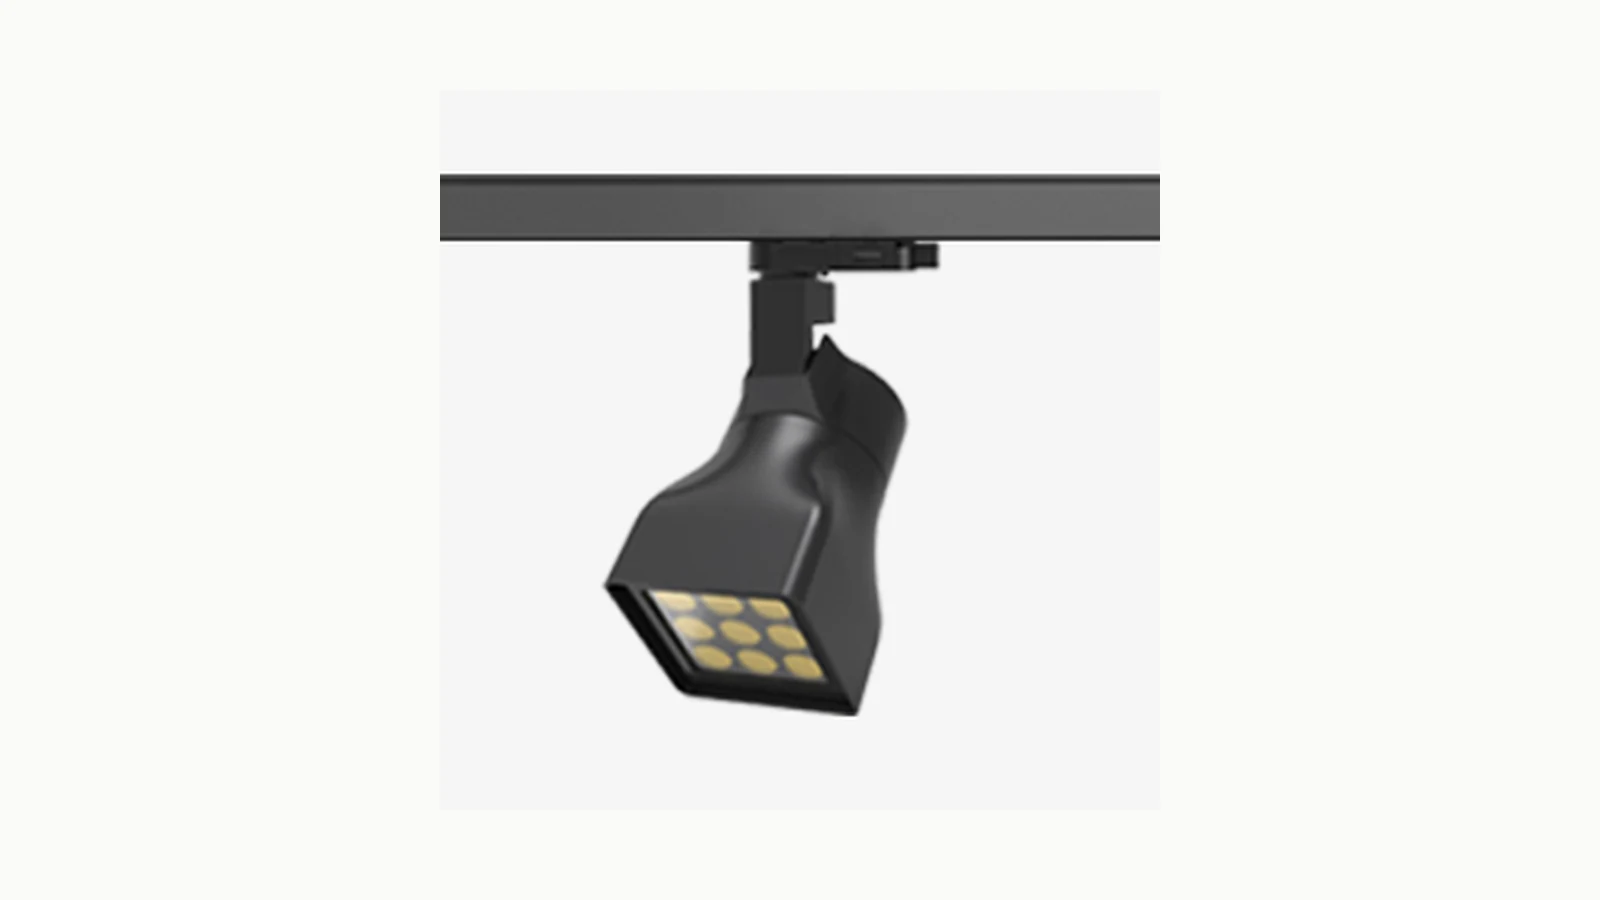
Heads We Specify for Apparel Walls and Rails
The heads below are the ones that come up most often on clothing fit-outs, because each solves a specific problem in the zones above rather than being a general-purpose fixture. If your store includes a brand showroom or an in-store gallery wall, the concealment and colour detail there is covered in showroom track lighting.
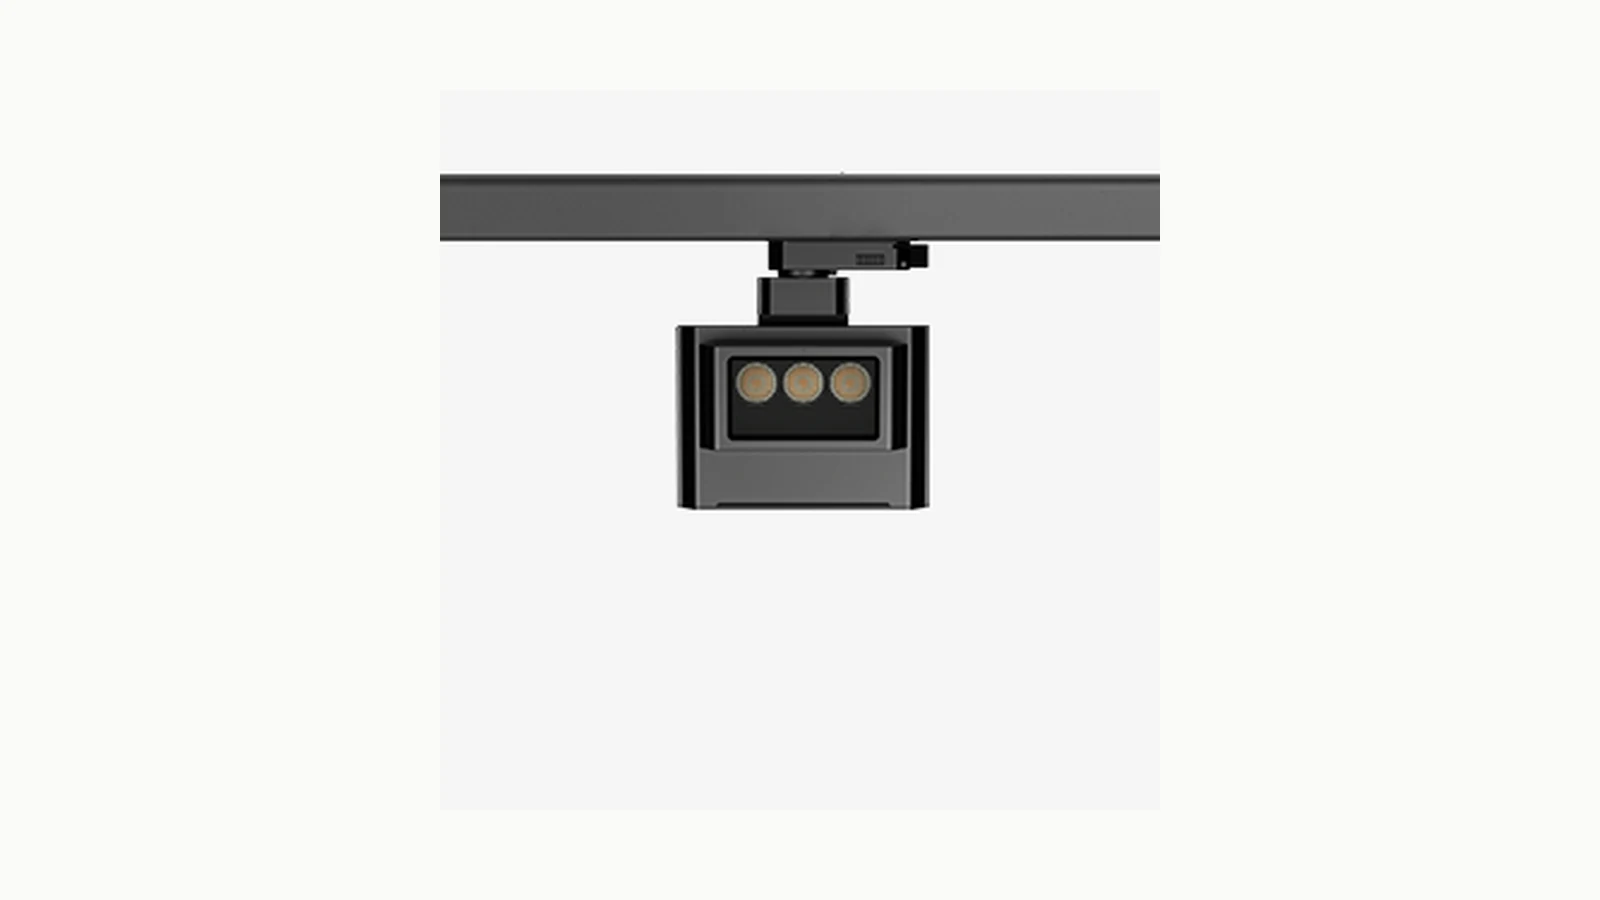
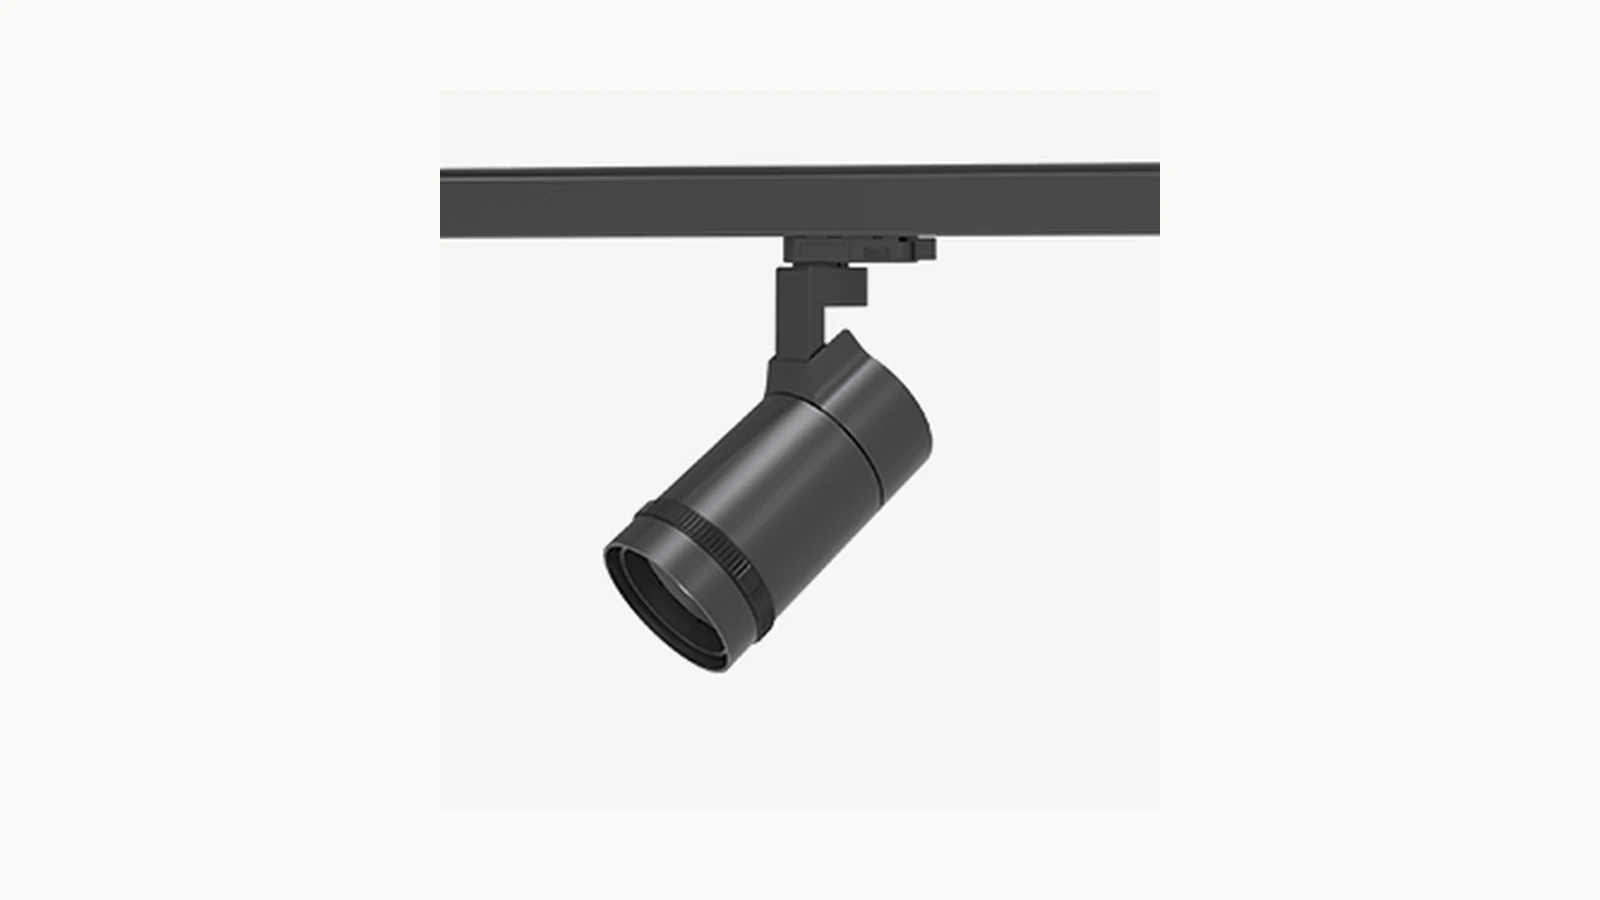
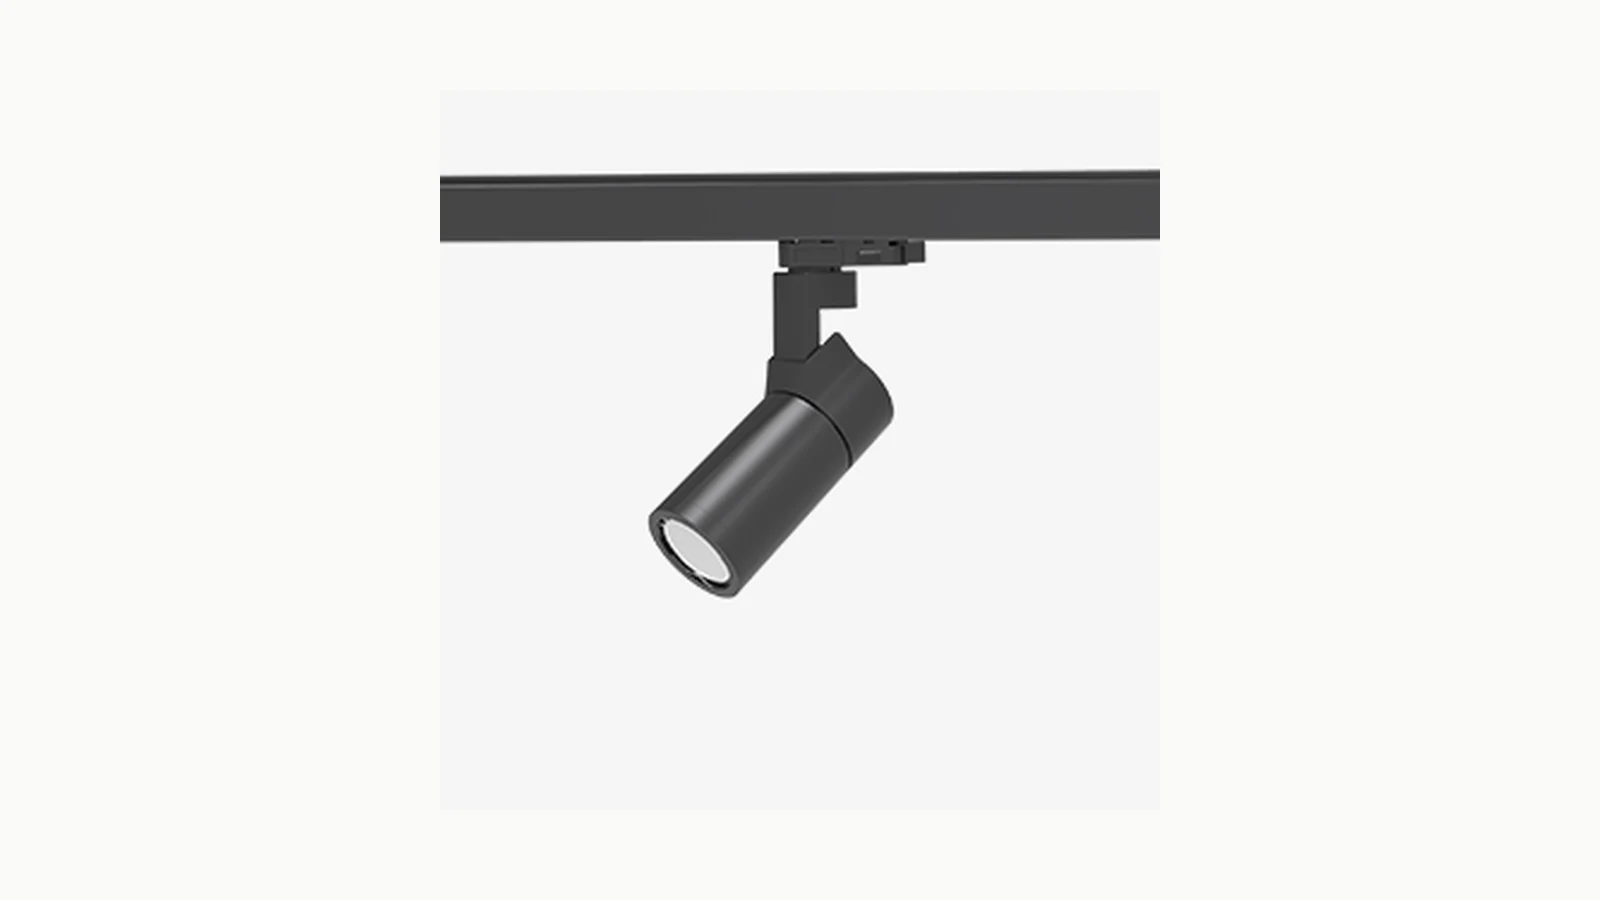
If you would rather have the whole run — track profile, heads, drivers and accessories — specified together, start from the track light range and we will map heads to your floor plan.
Six Mistakes We See on Clothing Fit-Outs
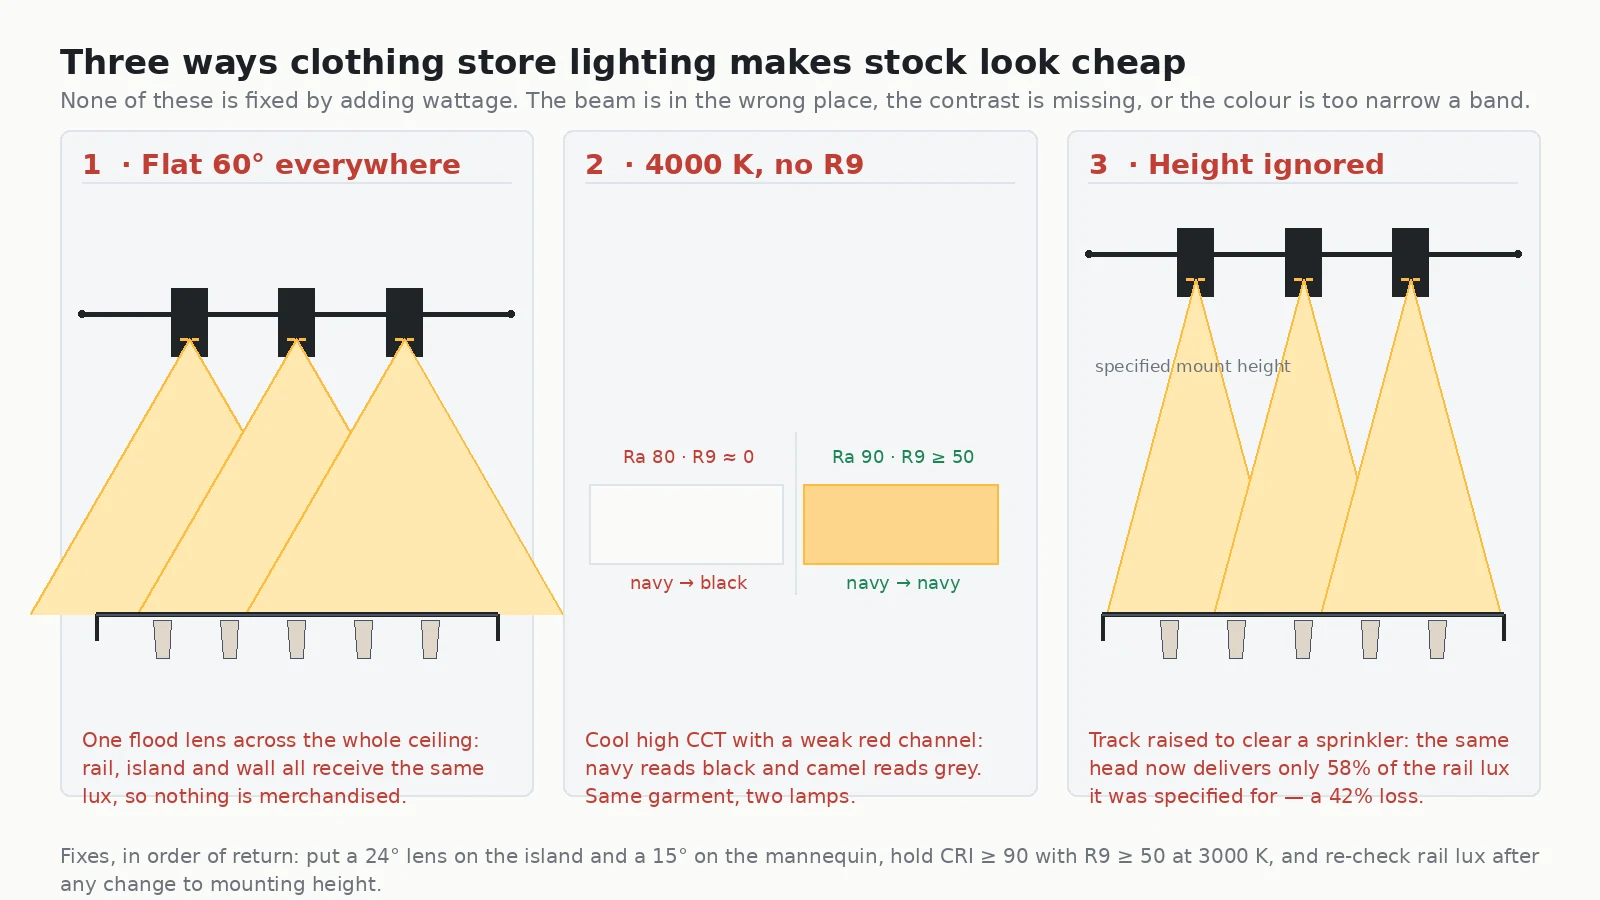
- One lens across the whole ceiling. 60° everywhere is the fastest way to make a store look like a warehouse. Different merchandising jobs need different pools.
- Ambient brightened to fix a dark product. The product was dark because no accent head was on it. Raising ambient lowers contrast and makes the problem permanent.
- 4000 K with R9 near zero. Cool light plus a weak red channel is the classic combination that turns navy black and camel grey.
- Track raised after specification. 42% of the rail illuminance can disappear between the drawing and the ceiling.
- Heads spaced off the ceiling grid. Tile grids are 0.60 m; the required pitch for a 45° wash with 40% overlap is 1.49 m. Use the number, not the grid.
- No dimming for daylight. A window lit for a 1,500 lux daytime target and left at full output after dark blooms against a 50 lux street and washes out the interior.
A Layout You Can Check With a Tape Measure
Before you sign off any clothing store lighting drawing, run these five checks. All of them are arithmetic, and all of them catch the errors that actually reach site.
- Perimeter offset. Distance from wall face to track axis should equal H × tan(aim tilt). At 3.00 m and 25° that is 1.40 m. Measure it on the drawing.
- Head pitch. Pitch = 2H·tan(θ/2) × (1 − overlap). For 45° at 3.00 m with 40% overlap, 1.49 m. Compare against the actual spacing on plan.
- Height check. Multiply planned lux by (H_spec / H_actual)². Any result under roughly 0.85 means the scheme needs a different lens or a higher-output head.
- Vertical illuminance at 1.20 m and 1.60 m on the wall. Take both readings at the wall surface. If the two are more than about 3:1 apart along the run, your overlap is too low.
- Mirror offset in the fitting area. Source position must be at least H × tan(tilt) off the mirror axis — 0.60 m per 20° at a 1.65 m mirror centre.
The measurement definitions behind those checks come from standards bodies rather than vendors: the U.S. Department of Energy Solid-State Lighting programme publishes the terminology and test methods used for LED performance claims, NIST photometry defines how the photometric quantities in this article are actually measured, and the DesignLights Consortium maintains the qualified-products criteria that many utility rebate programmes reference.
Frequently Asked Questions
How many lux does a clothing store need?
It depends on the zone, and the ratio between zones matters more than any single figure. A working set for a mid-market clothing store is 150–250 lux in the aisles, 500–700 lux vertical on rails, 600–900 lux vertical on wall displays, and 1,200–1,800 lux in the mannequin pool. That gives an accent-to-ambient ratio of roughly 7:1, which is what produces the visual hierarchy. A single store-wide figure cannot produce that hierarchy, which is why a uniform 500 lux specification always looks flat.
What beam angle should clothing store track lights use?
Match the pool to the merchandise. A mannequin or single hero garment wants 10–15°; a two-piece outfit on a plinth about 20°; a folded stack on an island table about 24°; a shelf level about 30°; a full-height wall display 40–45°; and open floor 60°. At a 3.00 m ceiling those angles give pools of 0.52 m, 1.06 m, 1.28 m, 1.61 m, 2.49 m and 3.46 m respectively, computed from D = 2H·tan(θ/2).
What CRI do I need for a clothing store?
CRI 90 or better as a floor, and CRI 95 for womenswear, knitwear and anything with a strong colour story. But check R9 as well — the deep-red channel — and require R9 ≥ 50 at minimum, ≥ 70 for premium apparel. A lamp can post CRI 90 with R9 near zero and still turn wine-coloured fabric brown. Ask for SDCM ≤ 3 as well, so all heads on a run look identical rather than drifting pink to green.
Is 3000 K or 4000 K better for a clothing store?
3000 K is the safest choice for most apparel, because it flatters skin and knitwear without yellowing white cotton. 3500 K suits denim, casual and sportswear, where cool neutrals read as modern. 4000 K is a deliberate category decision for high-turnover fast fashion with an energetic, supermarket-adjacent feel — it makes ivory and camel read grey, so it is a bad default for anything at a higher price point. Whatever you choose, keep the fitting cubicle within 100 K of the shop floor.
How far apart should track heads be for a clothing wall?
For a 45° wash from a 3.00 m ceiling, the pool is 2.49 m, so with 40% overlap the pitch is about 1.49 m. Use 50% overlap on glossy or heavily textured walls and 40% is usually enough on matte paint. Below roughly 20% overlap you will see distinct scalloped bands between heads. Never space heads off a 0.60 m ceiling grid — the grid has nothing to do with the optics.
How do I stop glare from track lighting in a clothing store?
Two levers. First, cut-off angle: recess the lamp behind its aperture, since cut-off ≈ arctan(recess depth ÷ half-aperture). A 35 mm recess in a 60 mm aperture gives about 49° of cut-off, which keeps the LED out of view for almost all normal viewing positions, while a flat lens in a shallow body reads as a bare bright dot from anywhere. Second, position: the highest-glare locations are heads on a run directly in a customer’s sightline as they walk toward the fitting area or the till. Rotate the run, or re-aim those heads so their axes cross the walkway rather than run along it.
Can I use the same track head for ambient and accent lighting in a clothing store?
Mechanically yes, but you should not run them on one circuit. Ambient needs wide flood at moderate output, accent needs narrow beam at high output, and the two need to dim differently — ambient can follow daylight, accent usually should not. Even with a single zoomable head type across the store, split the aisle run and the display run onto separate dimmers. It also means a daytime window display can be dimmed at night without touching the interior scheme.
Lighting That Argues for the Price Tag
Clothing store lighting is not a brightness problem. It is a containment problem: containing light into pools that match the merchandise, containing the ambient level so the pools have something to be brighter than, and containing the source so the customer never has to look past it. Get those three and a €90 shirt can look like a €300 shirt, in the same room and on the same rail.
The arithmetic in this article is all you need to check someone else’s layout, or to write your own. If you would rather hand the ceiling to us, send us the floor plan, the ceiling height and the merchandising plan — we will come back with a head-by-head schedule, beam angles, pitches and illuminance targets per zone, using the same formulas shown above.
Talk to an Encore lighting engineer about your clothing store fit-out →