
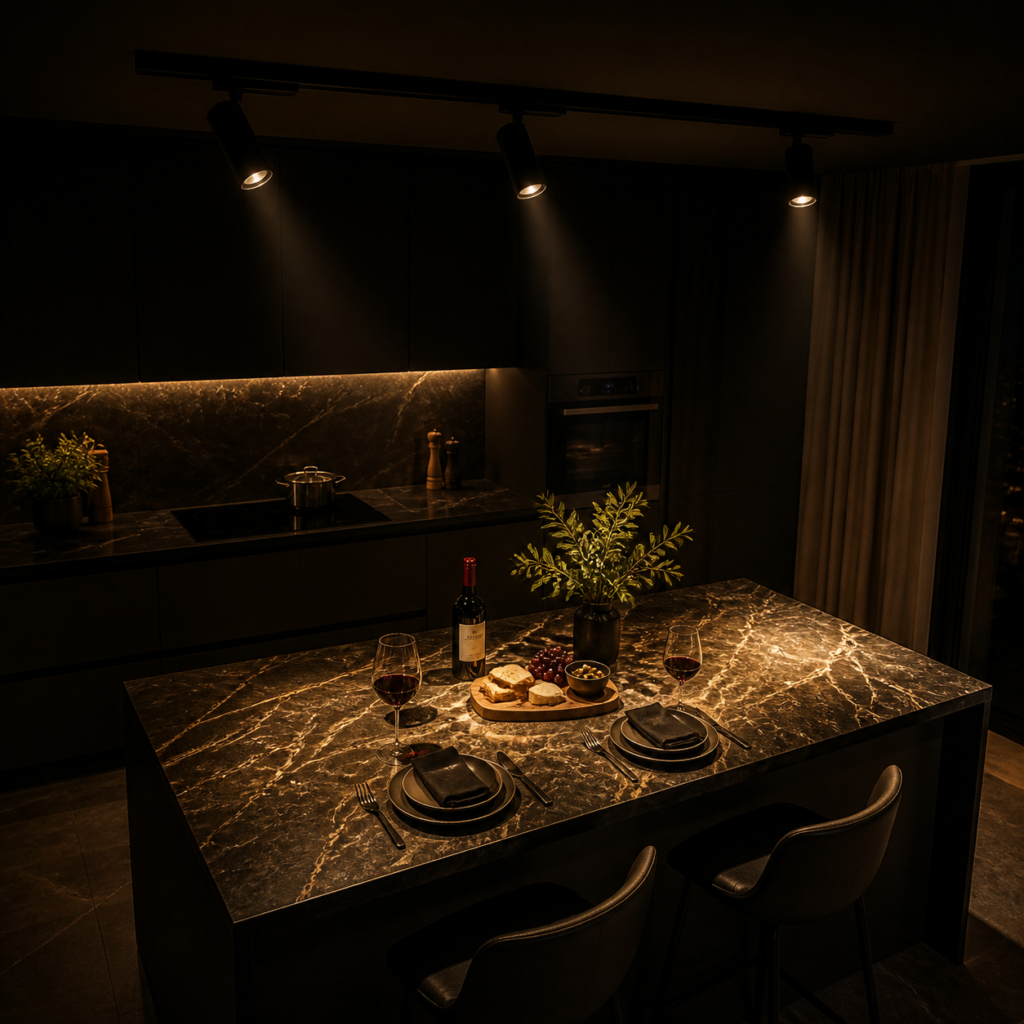
A kitchen island is the most demanding lighting surface in any home. It is where you prep food, where guests gather, and where the room’s atmosphere is set — and getting the lighting wrong shows up every single day. The right fixtures make the island the natural center of the kitchen. The wrong ones make it feel flat, shadowed, or just plain institutional.
Track lighting is increasingly the preferred choice over kitchen islands — and for good reason. Unlike a single pendant cluster or a fixed recessed grid, a track system gives you full control over light placement, beam direction, and intensity, with the ability to reconfigure as the kitchen evolves. If you are comparing systems, our guide to magnetic vs traditional track lighting breaks down the trade-offs between low-voltage magnetic rails and conventional AC track. This guide covers everything you need to plan, specify, and install track lighting over a kitchen island.
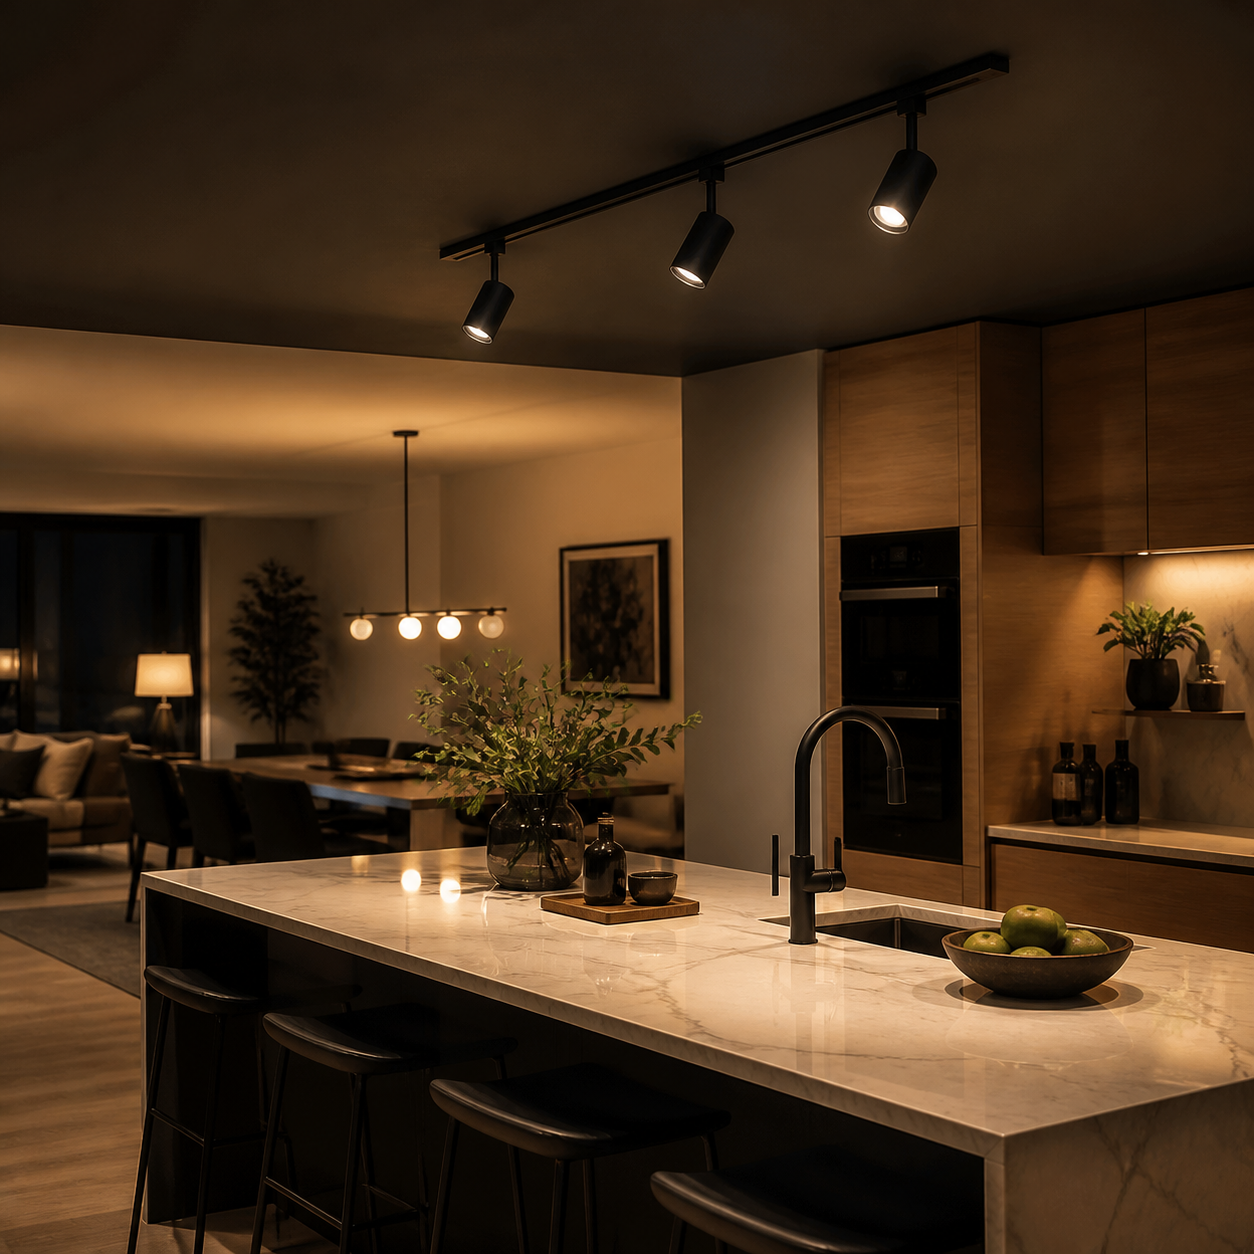

Why Track Lighting Works So Well Over Kitchen Islands
Kitchen islands have a unique lighting challenge: they need to serve as both a task surface and a visual focal point, often simultaneously. A cook needs clear, shadow-free illumination on the countertop. A host wants the island to feel inviting and atmospheric when the kitchen is in evening mode. Recessed downlights give you one thing. Pendant lights give you one thing. Track lighting gives you both — and the ability to change your mind.
The core advantages of track lighting over kitchen islands:
- Directional control: aim each head at the exact zone of the island that needs light
- Spacing flexibility: position fixtures where they are needed, not at fixed intervals
- Beam angle selection: use narrow spots over task zones, wider floods over dining areas
- Future-proofing: add, remove, or reposition fixtures as the kitchen use changes
- Single circuit: one electrical run powers the entire track, simpler than multiple pendant drops
Track lighting also eliminates the common problem of pendant light spacing: when you have a long island and need three pendants, you either get two at the ends with dead space in the middle, or you guess at equal spacing that never quite works. A linear track over a kitchen island places light exactly where the island geometry demands it.
How Many Lights Do You Need? The Spacing Formula
The correct number of fixtures depends on three variables: island length, desired light coverage, and beam angle. Here is the practical formula used by lighting designers:
Island length (inches) ÷ Recommended spacing (inches) + 1 = Number of fixtures
Recommended spacing ranges from 24–36 inches depending on ceiling height and how much ambient fill you want. For an 8-foot (96-inch) kitchen island with 30-inch spacing:
96 ÷ 30 + 1 = 4 fixtures
Common island sizes and fixture counts:
| Island Length | Recommended Fixtures | Track Length Needed |
|---|---|---|
| 4 feet (48 inches) | 2 fixtures | 4–5 feet |
| 6 feet (72 inches) | 3 fixtures | 6–7 feet |
| 8 feet (96 inches) | 3–4 fixtures | 8–9 feet |
| 10 feet (120 inches) | 4–5 fixtures | 10–11 feet |
| 12 feet (144 inches) | 5–6 fixtures | 12–13 feet |
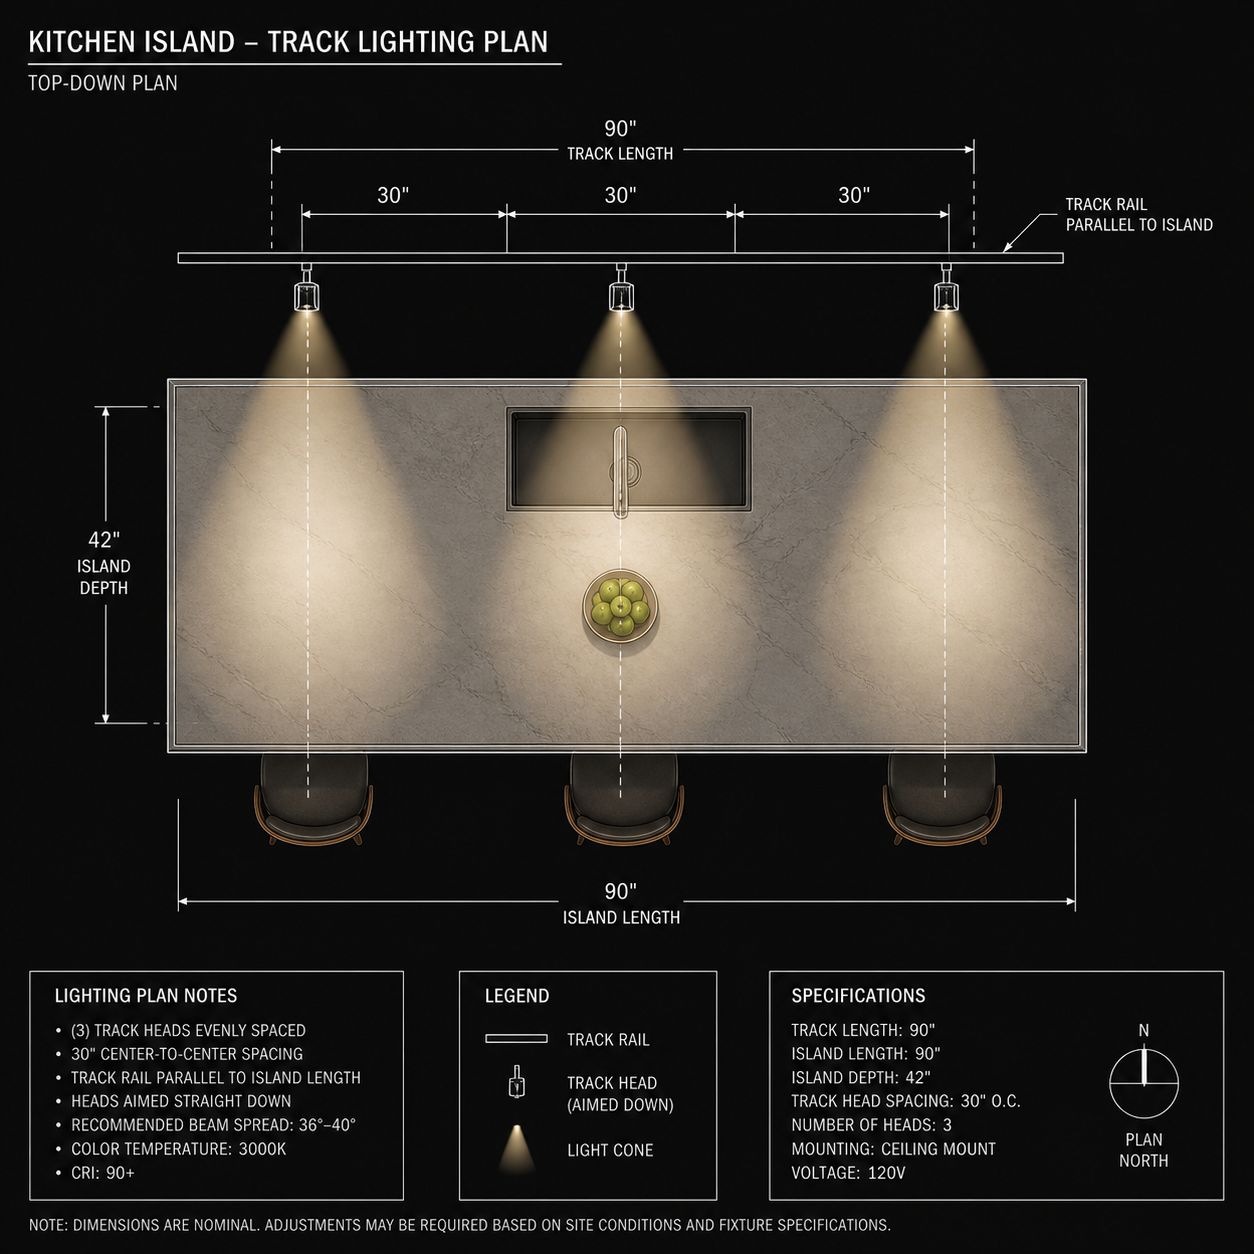
For most residential kitchen islands, 3 fixtures spaced 28–32 inches apart delivers the best balance of task coverage and visual symmetry.
5 Practical Spacing Rules for Kitchen Island Track Lighting
Rule 1: Track runs parallel to the island edge, not perpendicular.
The track rail should run the length of the island, not across its width. This ensures light pools overlap to create even illumination rather than alternating bright and dark zones.
Rule 2: The first and last fixtures should be inset 6–12 inches from the island edge.
Light at the very edge of the island creates glare and lights the floor rather than the work surface. Insetting the end fixtures keeps light on the island where it belongs.
Rule 3: Match beam angle to spacing distance.
With 30-inch spacing, a 36-degree beam gives overlapping pools that meet at roughly 50% intensity at the overlap point — ideal for task work. Wider spacing needs narrower beams to maintain coverage.
Rule 4: Separate task and ambient heads on different circuits.
If your track is on a single circuit, all heads switch together. Separating the circuit lets you dim the ambient heads for evening while keeping task heads at full brightness during food prep.
Rule 5: Account for ceiling obstructions.
Range hoods, extractor fans, ceiling beams, and structural soffits may block track placement or limit head aiming direction. Survey the ceiling before specifying track length.
Beam Angle Selection: Narrow vs Wide for Kitchen Islands
The beam angle determines how concentrated or spread out the light is. For kitchen islands, a mix of beam angles is typically the best approach.
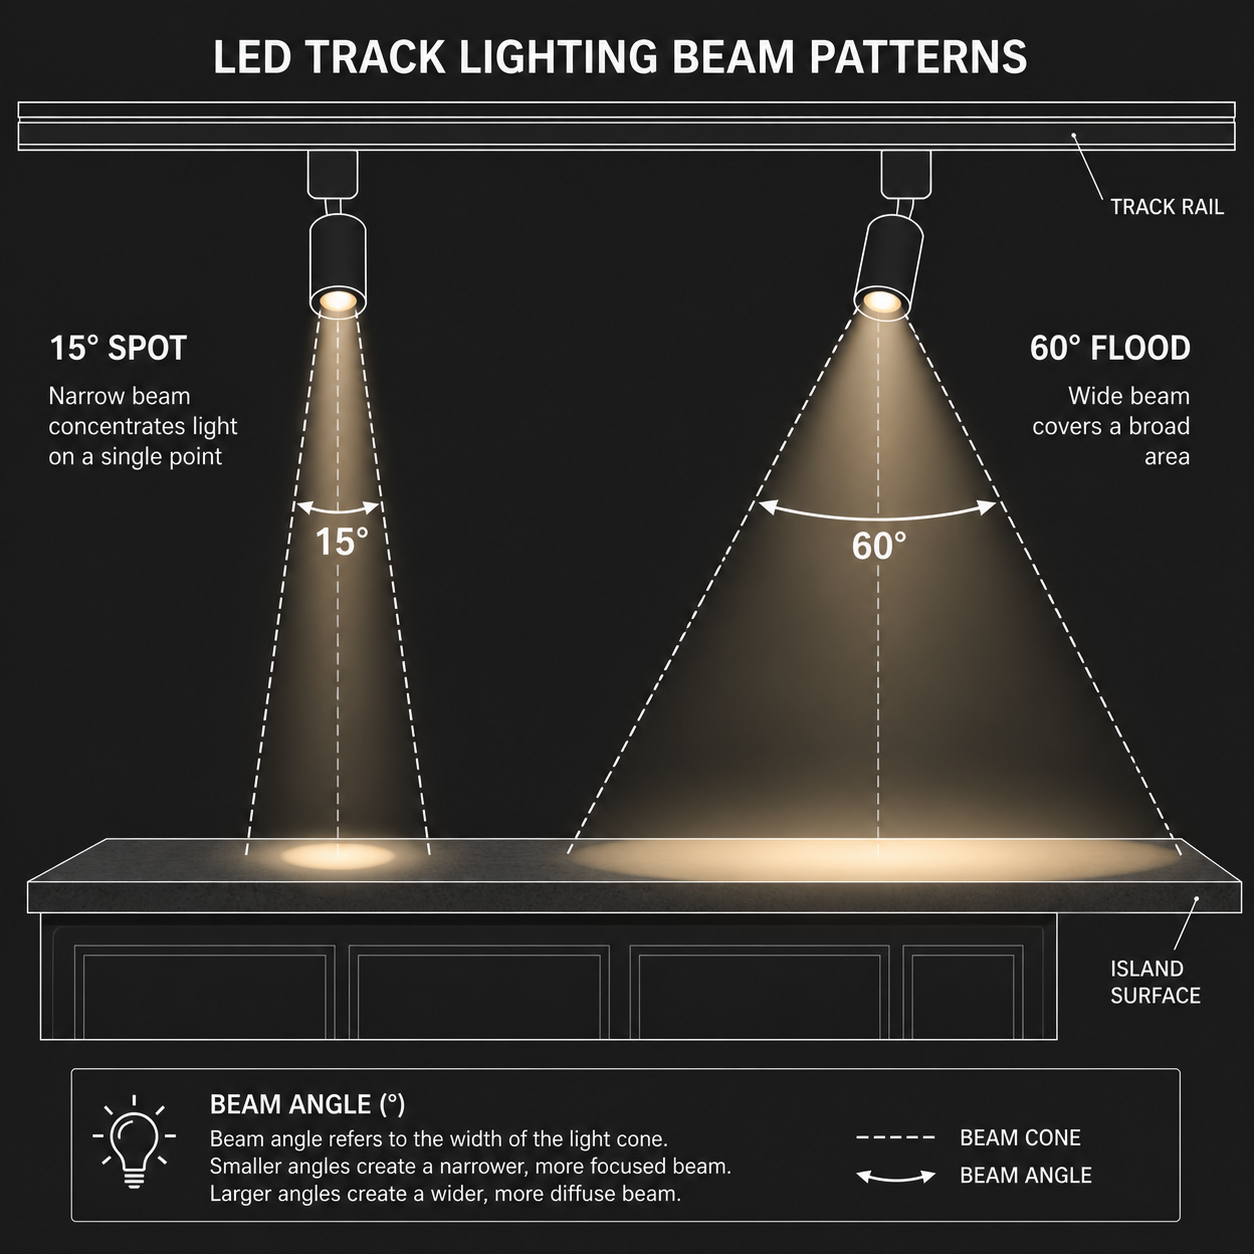
Narrow beams (15°–24°): Best for task lighting directly below the fixture. Creates a tight pool of light ideal for precise food prep zones. Use over the primary cutting and cooking area of the island.
Medium beams (36°–45°): The most versatile choice for kitchen islands. Delivers enough spread to cover the full island width while maintaining enough intensity for task work. Recommended as the default selection.
Wide beams (60°+): Best for ambient illumination or over the dining end of a combination island. On its own, a 60-degree beam may feel diffuse and insufficient for detailed food prep.
For the best result, specify a track with a mix of 24-degree and 36-degree heads: the 24-degree heads handle the primary prep zone, and the 36-degree heads provide even coverage across the rest of the island surface.
Color Temperature: 2700K vs 3000K vs 4000K for Kitchen Islands
Color temperature (CCT, measured in Kelvin) determines whether the light feels warm and golden or cool and clinical. For kitchen islands, 3000K is the overwhelming professional consensus for residential kitchens.
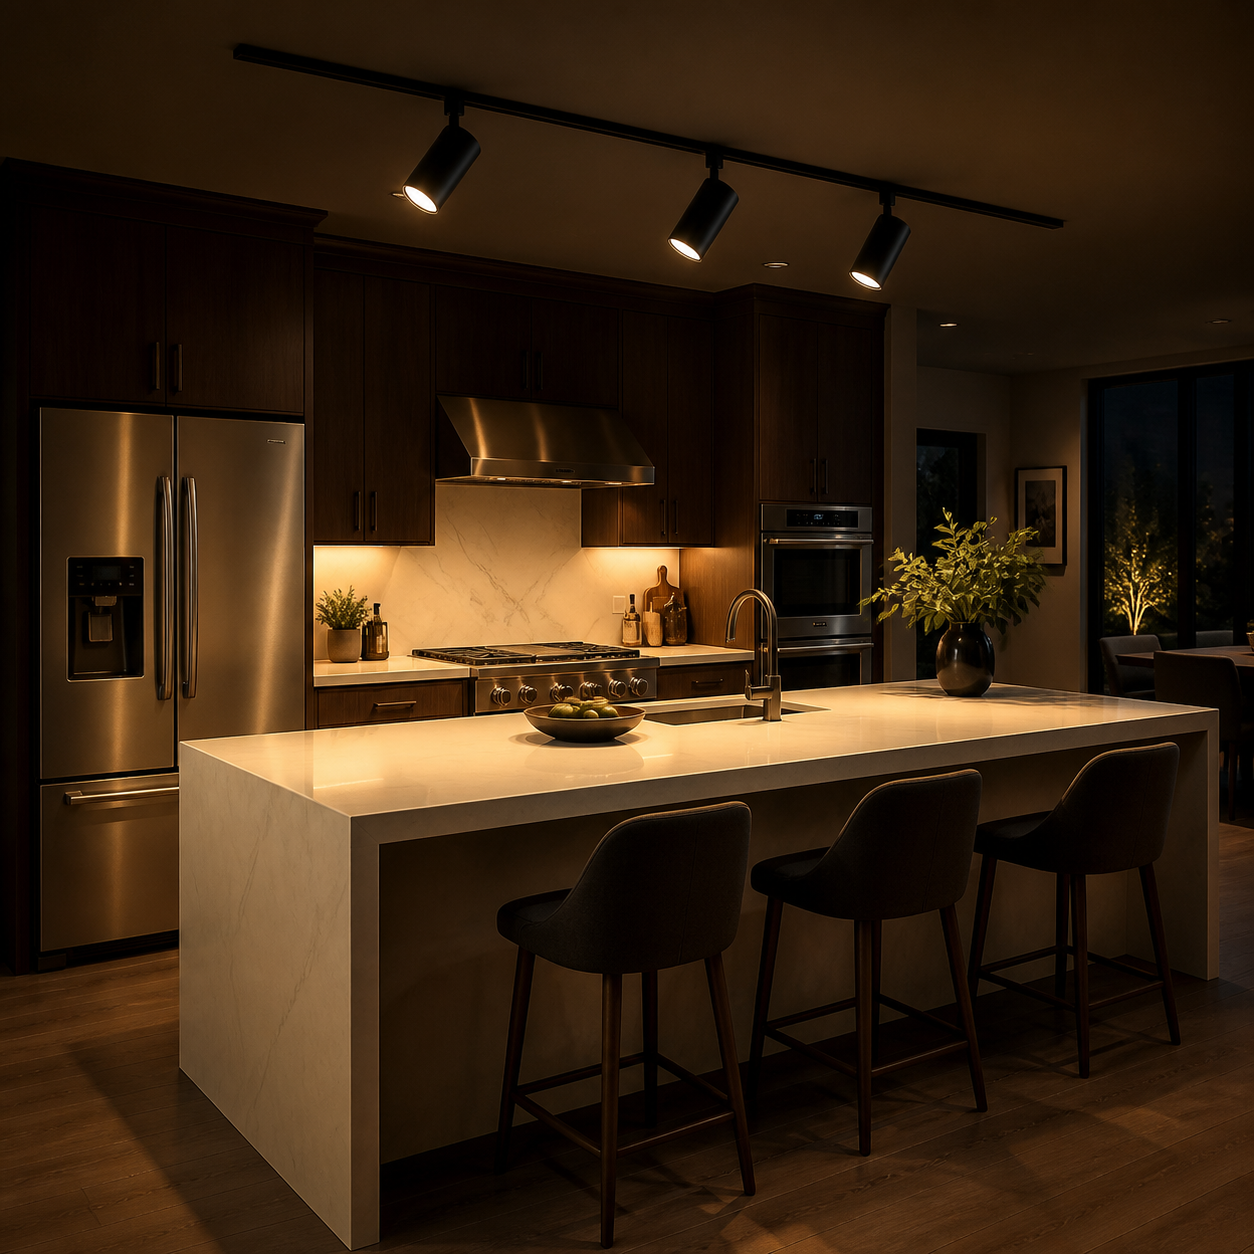
2700K (warm white): Creates a cozy, intimate atmosphere. Excellent for kitchen-dining combinations where the island doubles as the evening social center. The warm cast flatters wood, stone, and marble surfaces. Avoid in kitchens with predominantly cool-toned materials (stainless steel, white quartz) where 2700K can look jaundiced.
3000K (neutral warm white): The sweet spot for most residential kitchen islands. Warm enough to feel inviting, neutral enough to render food colors accurately and complement a wide range of kitchen finishes. This is the recommended default for track lighting over kitchen islands.
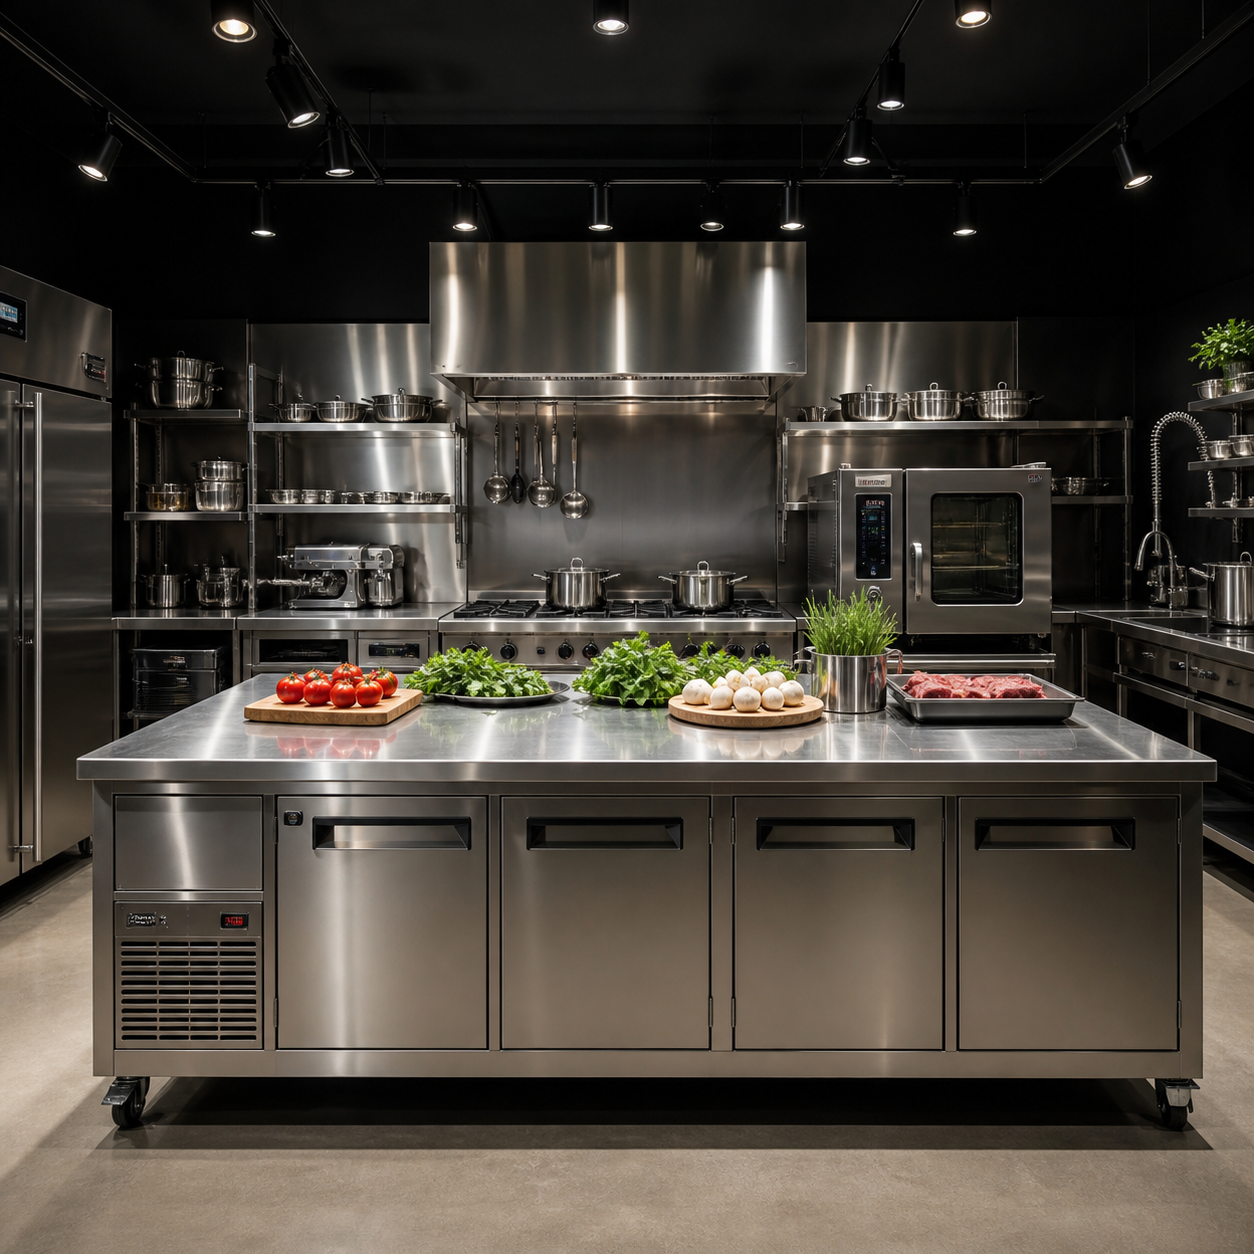
4000K (neutral white): Better suited to commercial kitchens and professional food-prep environments. The neutral white provides accurate color rendering for professional cooking and is the standard for restaurant and hospitality kitchens. Use in a residential setting only if you have a predominantly stainless or cool-toned kitchen.
Mounting Height and Drop Length
Track height above the island surface:
- Standard ceiling (8–9 feet): track mounted flush to ceiling, 36–42 inches above the island surface
- High ceiling (10+ feet): track can be surface-mounted or suspended; suspended track allows better aiming control — see our high ceiling lighting guide for tall-space beam math
- The higher the track, the larger the light pool on the island surface (but lower intensity)
Head drop length:
- Most architectural track heads are surface-mount with minimal additional drop below the track plane
- Ensure the bottom of any protruding head is at least 7 feet above the floor
- Over an island, there is no standing-headroom concern, so heads can be fully extended
Track Lighting vs Pendant Lights Over an Island
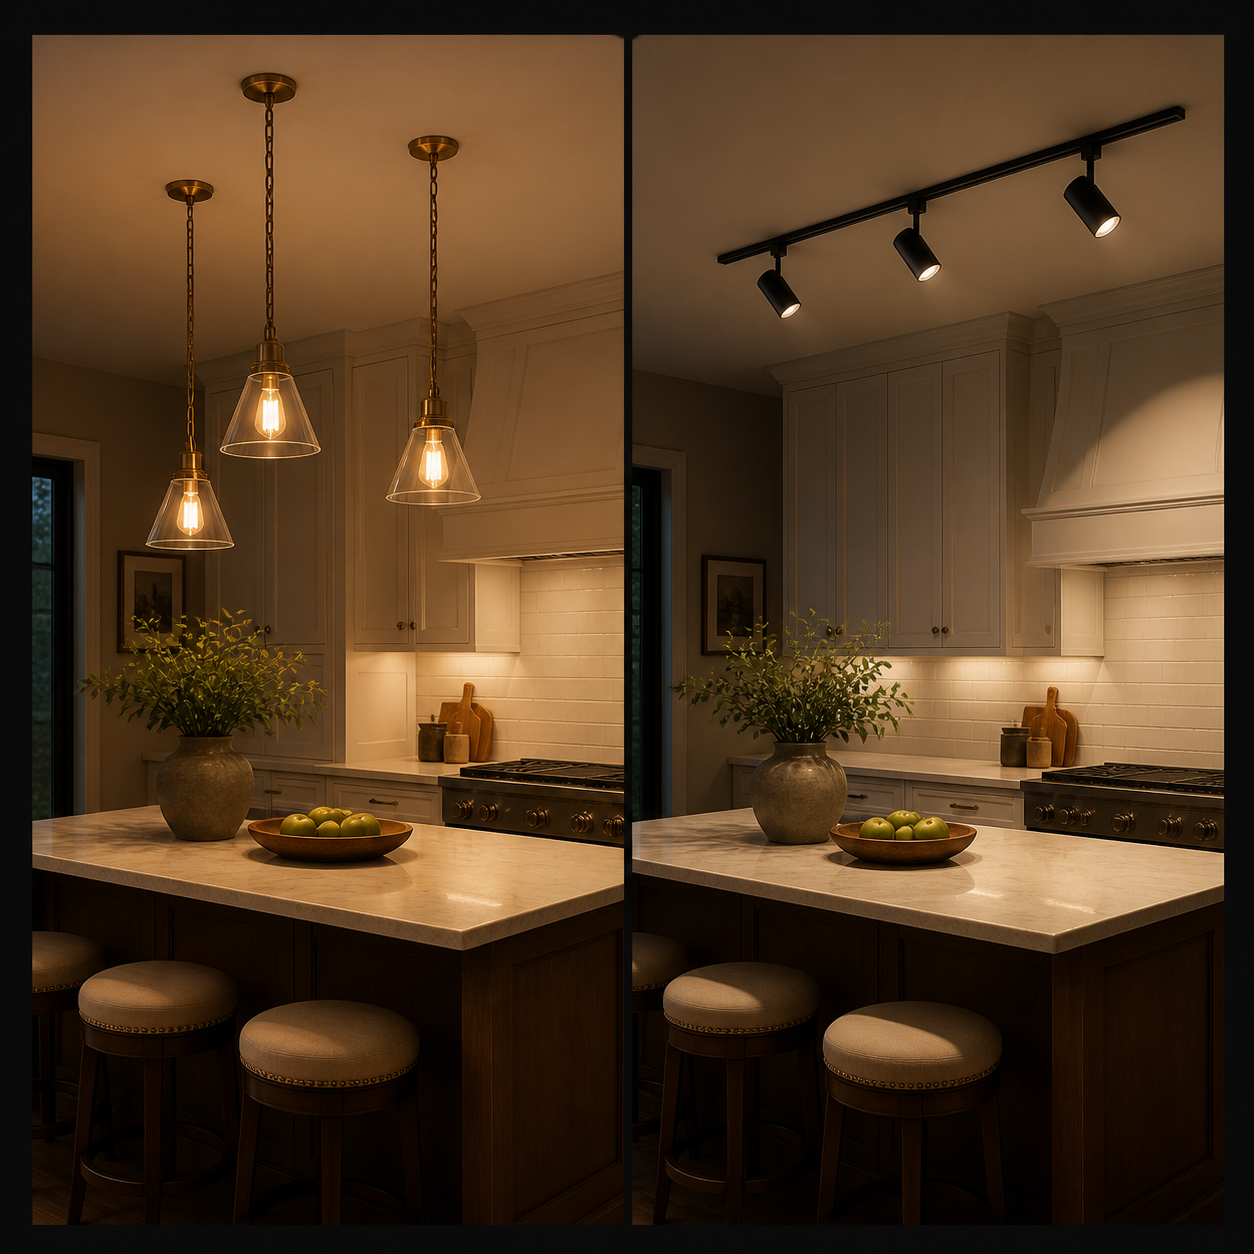
Pendant lights offer:
- A consistent, designed aesthetic (matching pendants look intentional)
- A clear visual anchor point that defines the island’s role in the room
- Lower per-fixture cost at the decorative level
Track lighting offers:
- Full directional control: aim at the island, at adjacent counters, at the ceiling
- Flexibility to reconfigure as the kitchen use changes
- Single electrical run vs multiple pendant drops
- Ability to mix beam angles on the same circuit
- Architectural aesthetic that works across modern, industrial, and transitional styles
Commercial Kitchen Islands: Track Lighting Specifications
In commercial settings — restaurant pass stations, hotel breakfast bars, catering prep islands — track lighting over the island serves a purely functional role:
- CCT: 4000K neutral white for accurate food color rendering under service conditions
- CRI: Minimum CRI 90; CRI 95 preferred for environments where food presentation is assessed
- Certification: ETL or UL listed for commercial food-service environments; IP44 or higher for hood-adjacent installations
- Beam angle: 36–45 degree floods for uniform coverage over wide island surfaces
- Dimming: 0-10V or DALI dimming for service-hour lighting control
Frequently Asked Questions
How far should track lights be from the kitchen island edge?
Inset the end fixtures 6–12 inches from the island’s outer edge. This keeps the light pool on the island surface rather than wasted on the floor, and avoids glare from fixtures visible at standing height from across the kitchen.
How many lights over a 6-foot kitchen island?
A 6-foot (72-inch) kitchen island typically needs 3 fixtures spaced 24–30 inches apart on a track rail of 6–7 feet. Position the first fixture 6–12 inches from one end and the last fixture 6–12 inches from the other end, with even spacing between all three heads.
What beam angle for kitchen island track lighting?
A 36-degree beam is the most versatile choice for a kitchen island — it provides enough spread to cover the full island width while maintaining sufficient intensity for food prep. For the primary prep zone, use a 24-degree spot head aimed at that area. For a combined prep-and-dining island, mix 24-degree and 36-degree heads on the same track.
Can I use track lighting in a commercial kitchen?
Yes, with the right specifications. Commercial kitchen track lighting requires: ETL or UL certification for the jurisdiction, a minimum of CRI 90 (CRI 95 preferred), 4000K CCT for accurate food color rendering, and appropriate IP rating for grease and moisture exposure near cooking equipment. Standard decorative track systems are not suitable for commercial food-service environments.
Is track lighting better than pendant lights over a kitchen island?
Track lighting is more flexible and adaptable; pendant lights offer a more consistent aesthetic. If your kitchen island use is likely to change (new appliances, new layout, new function), track lighting is the better long-term investment. If the island’s role is fixed and the aesthetic consistency of matching pendants is important, pendants are the right choice.
Final Recommendation
For most kitchen islands, a 3-head track at 3000K with a mix of 24-degree and 36-degree beam heads delivers the best combination of task illumination, aesthetic warmth, and long-term flexibility. Run the track parallel to the island length, inset the end fixtures 6–12 inches from each end, and wire the fixtures on two circuits so you can dim the ambient heads independently of the task heads.
For commercial kitchen islands, specify ETL-certified CRI 95 fixtures at 4000K on a dimmable circuit — the accuracy and control are non-negotiable in professional food environments.
ENCORE offers a complete range of LED magnetic track lighting systems and conventional track lighting systems suitable for both residential and commercial kitchen island installations, with ETL/UL certification, CRI 90+ and CRI 95 options, and H-type, J-type, and L-type commercial track compatibility.
Need help selecting the right fixtures for your kitchen island project? Contact our specification team for a project-specific recommendation.